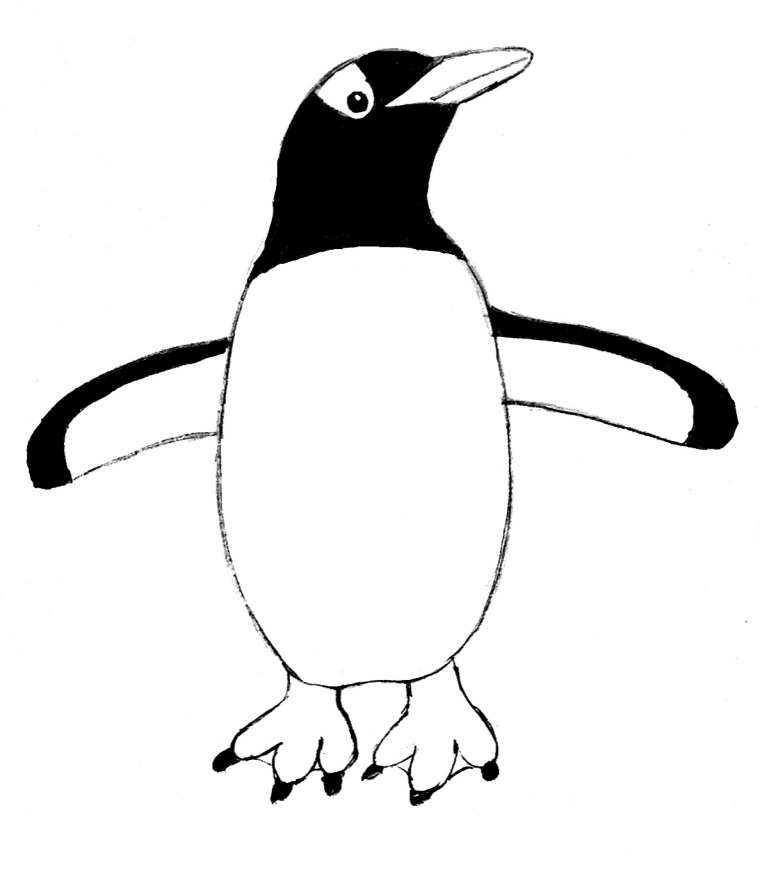
Create this penguin drawing step by step!
STEP 1:
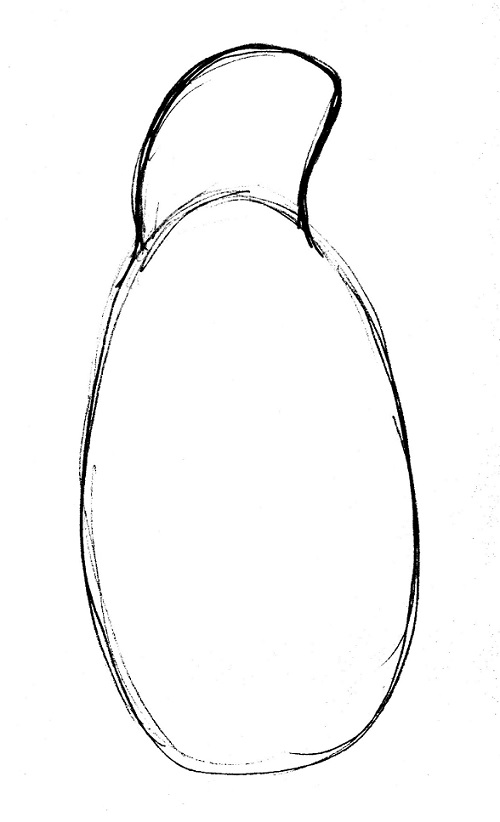
Look at the shape of the penguin. What shape(s) do you see? Notice that his body is sort of 0val-shaped. Draw an oval for his body.
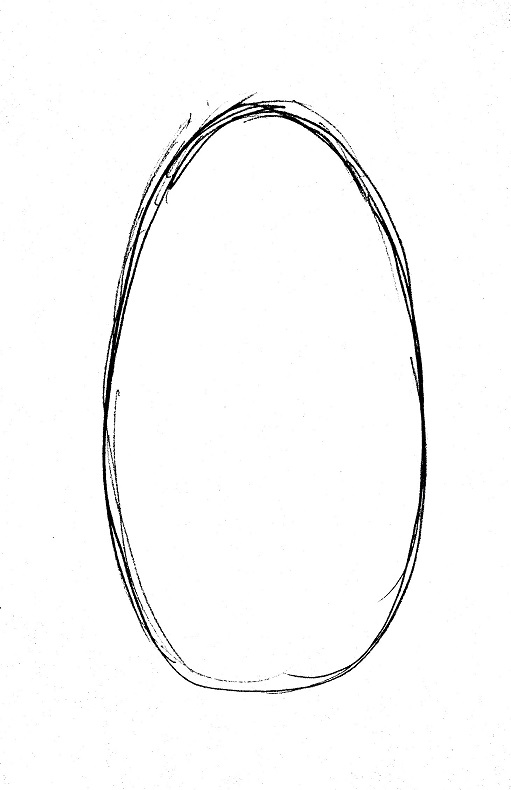
STEP 2:
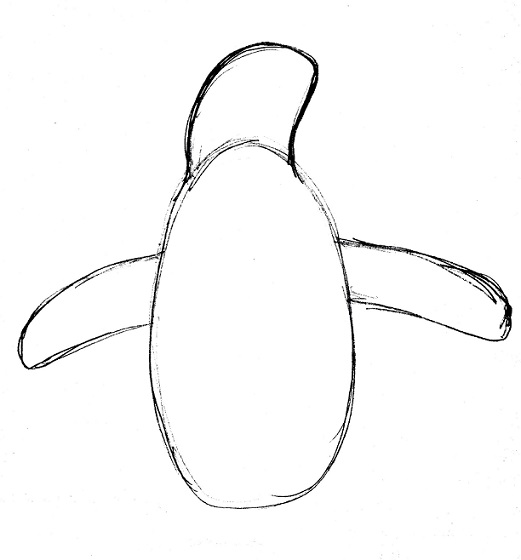
Next, look at the shape of his head. It’s almost an oval, too. Draw it on top of the large oval.
STEP 3:
Now look at his flippers. They are long, thinner ovals. Pay close attention to where they attach to the body. Notice they come out from the body close to the middle.
 STEP 4:
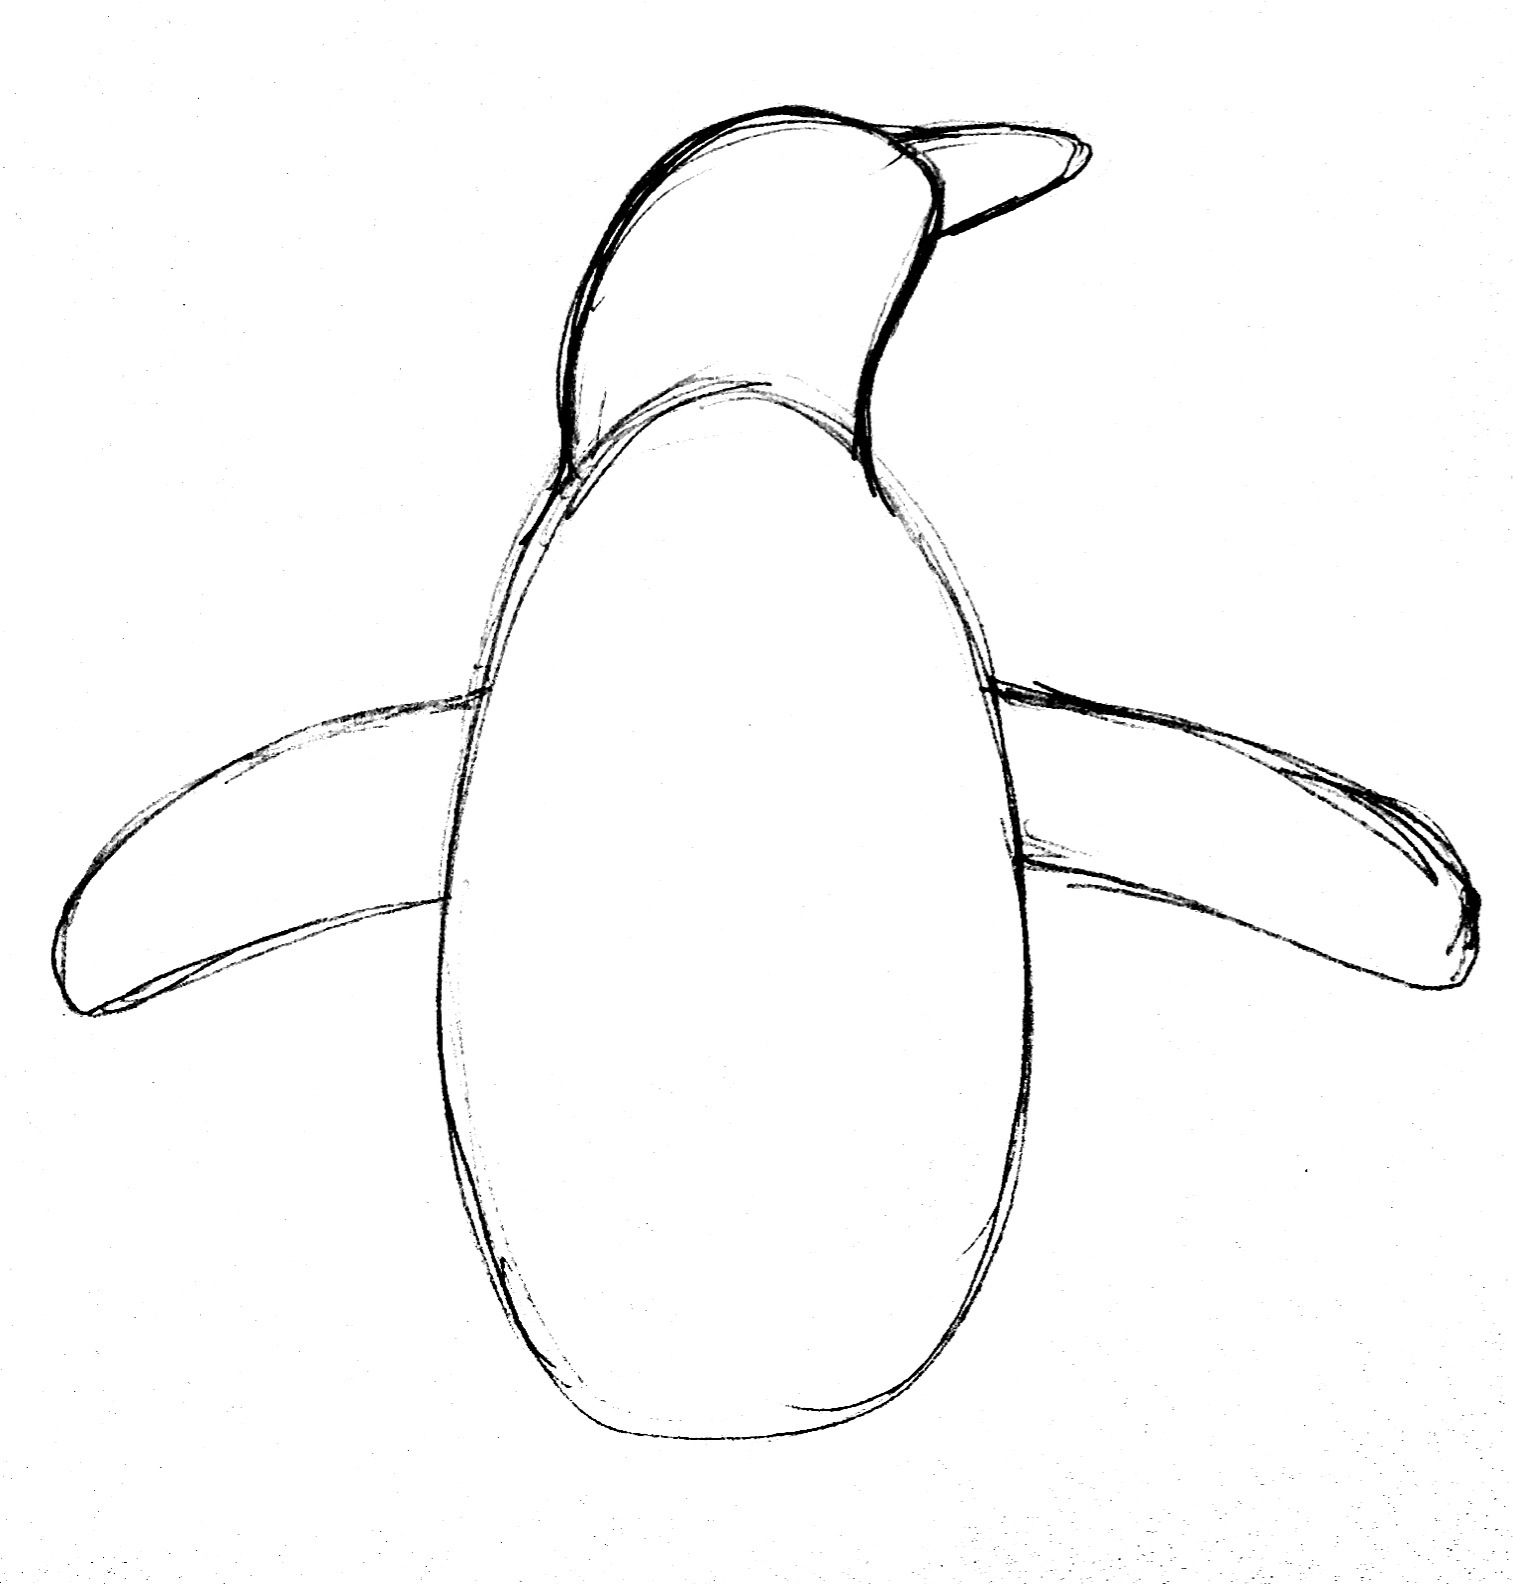
Time to add the beak! Notice where it attaches to the head. Notice the end of the beak isn’t pointed, but rather more rounded.
STEP 5:
Check out the penguin’s feet! These aren’t skinny little legs; they are actually quite wide. Draw three large, rounded toes on the legs.
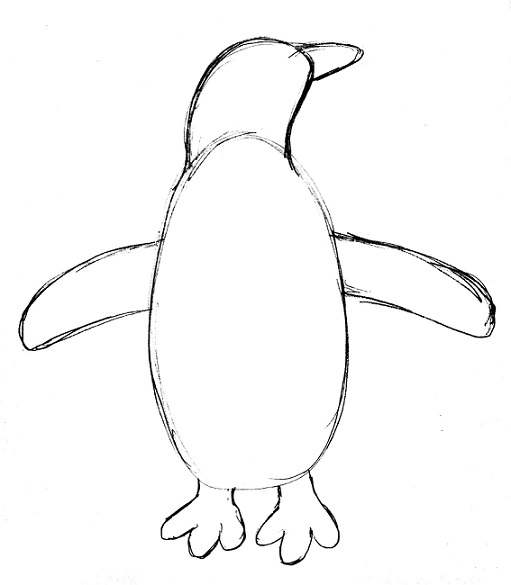
STEP 6:
Now you’ve got the whole penguin sketched on there. Next, use an eraser to erase the extra lines at his beak and neck.
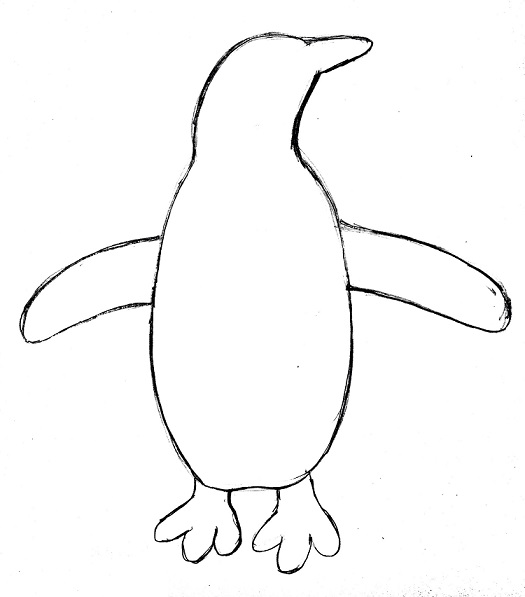
STEP 7:
Draw a straight line on the beak for the mouth.
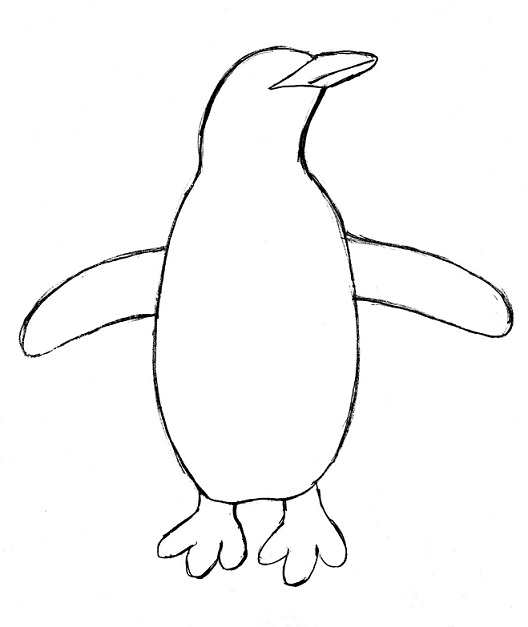
STEP 8:
Time to draw the eye (my favorite!). Notice how close the eye is to the beak. Color the eye dark with your pencil. Be sure to leave a white spot in the eye. This is called the catchlight; it’s the reflection of light in an open eye.
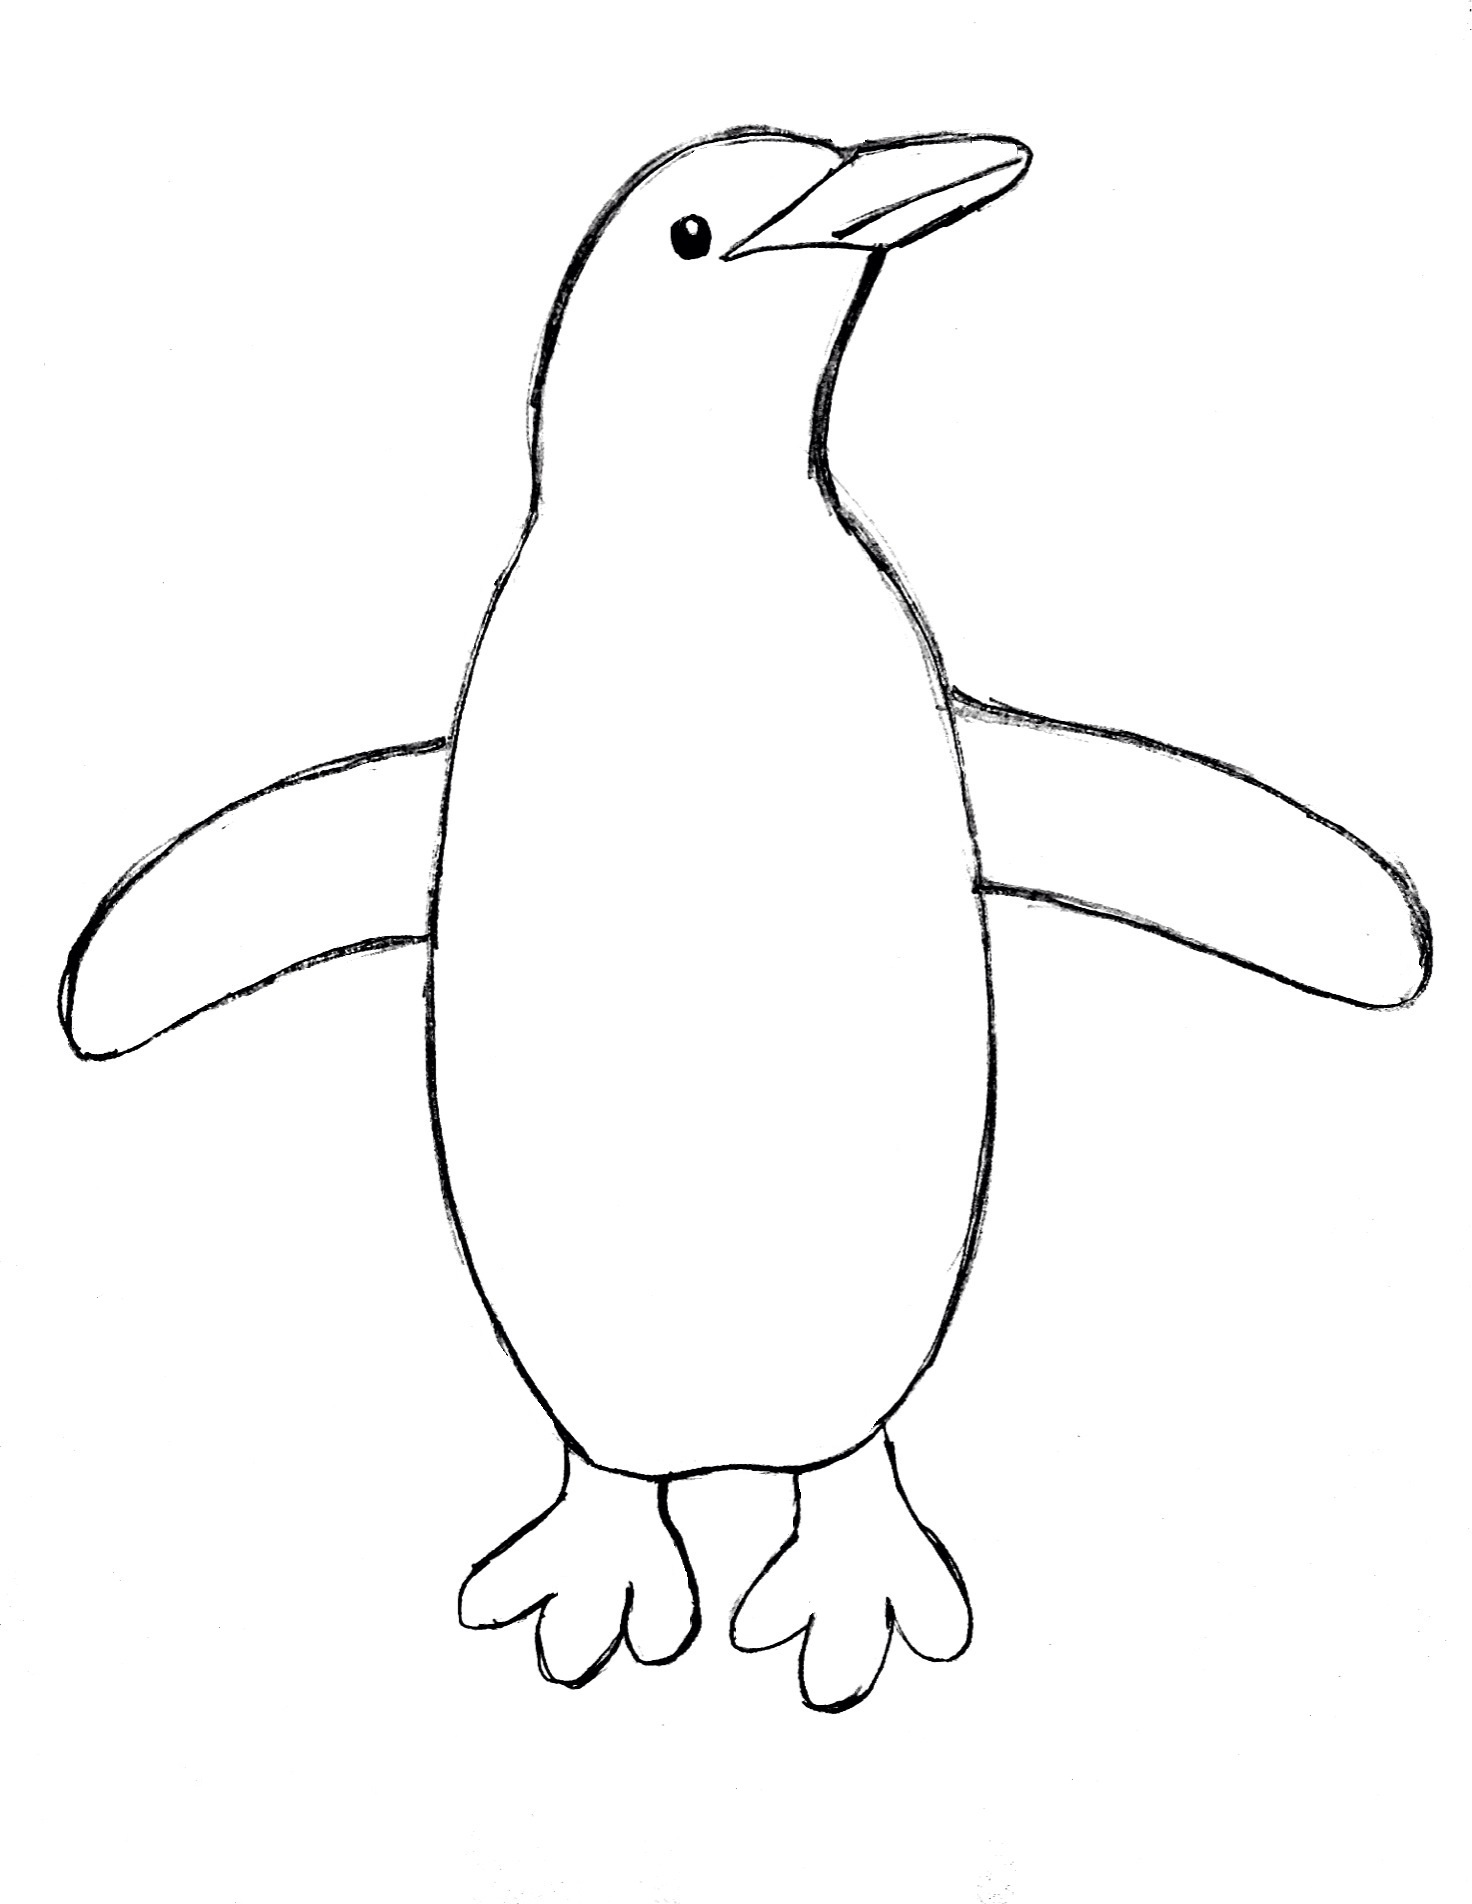 STEP 9:
You’re almost done! Next, add in the lines showing where the penguin is white and black.
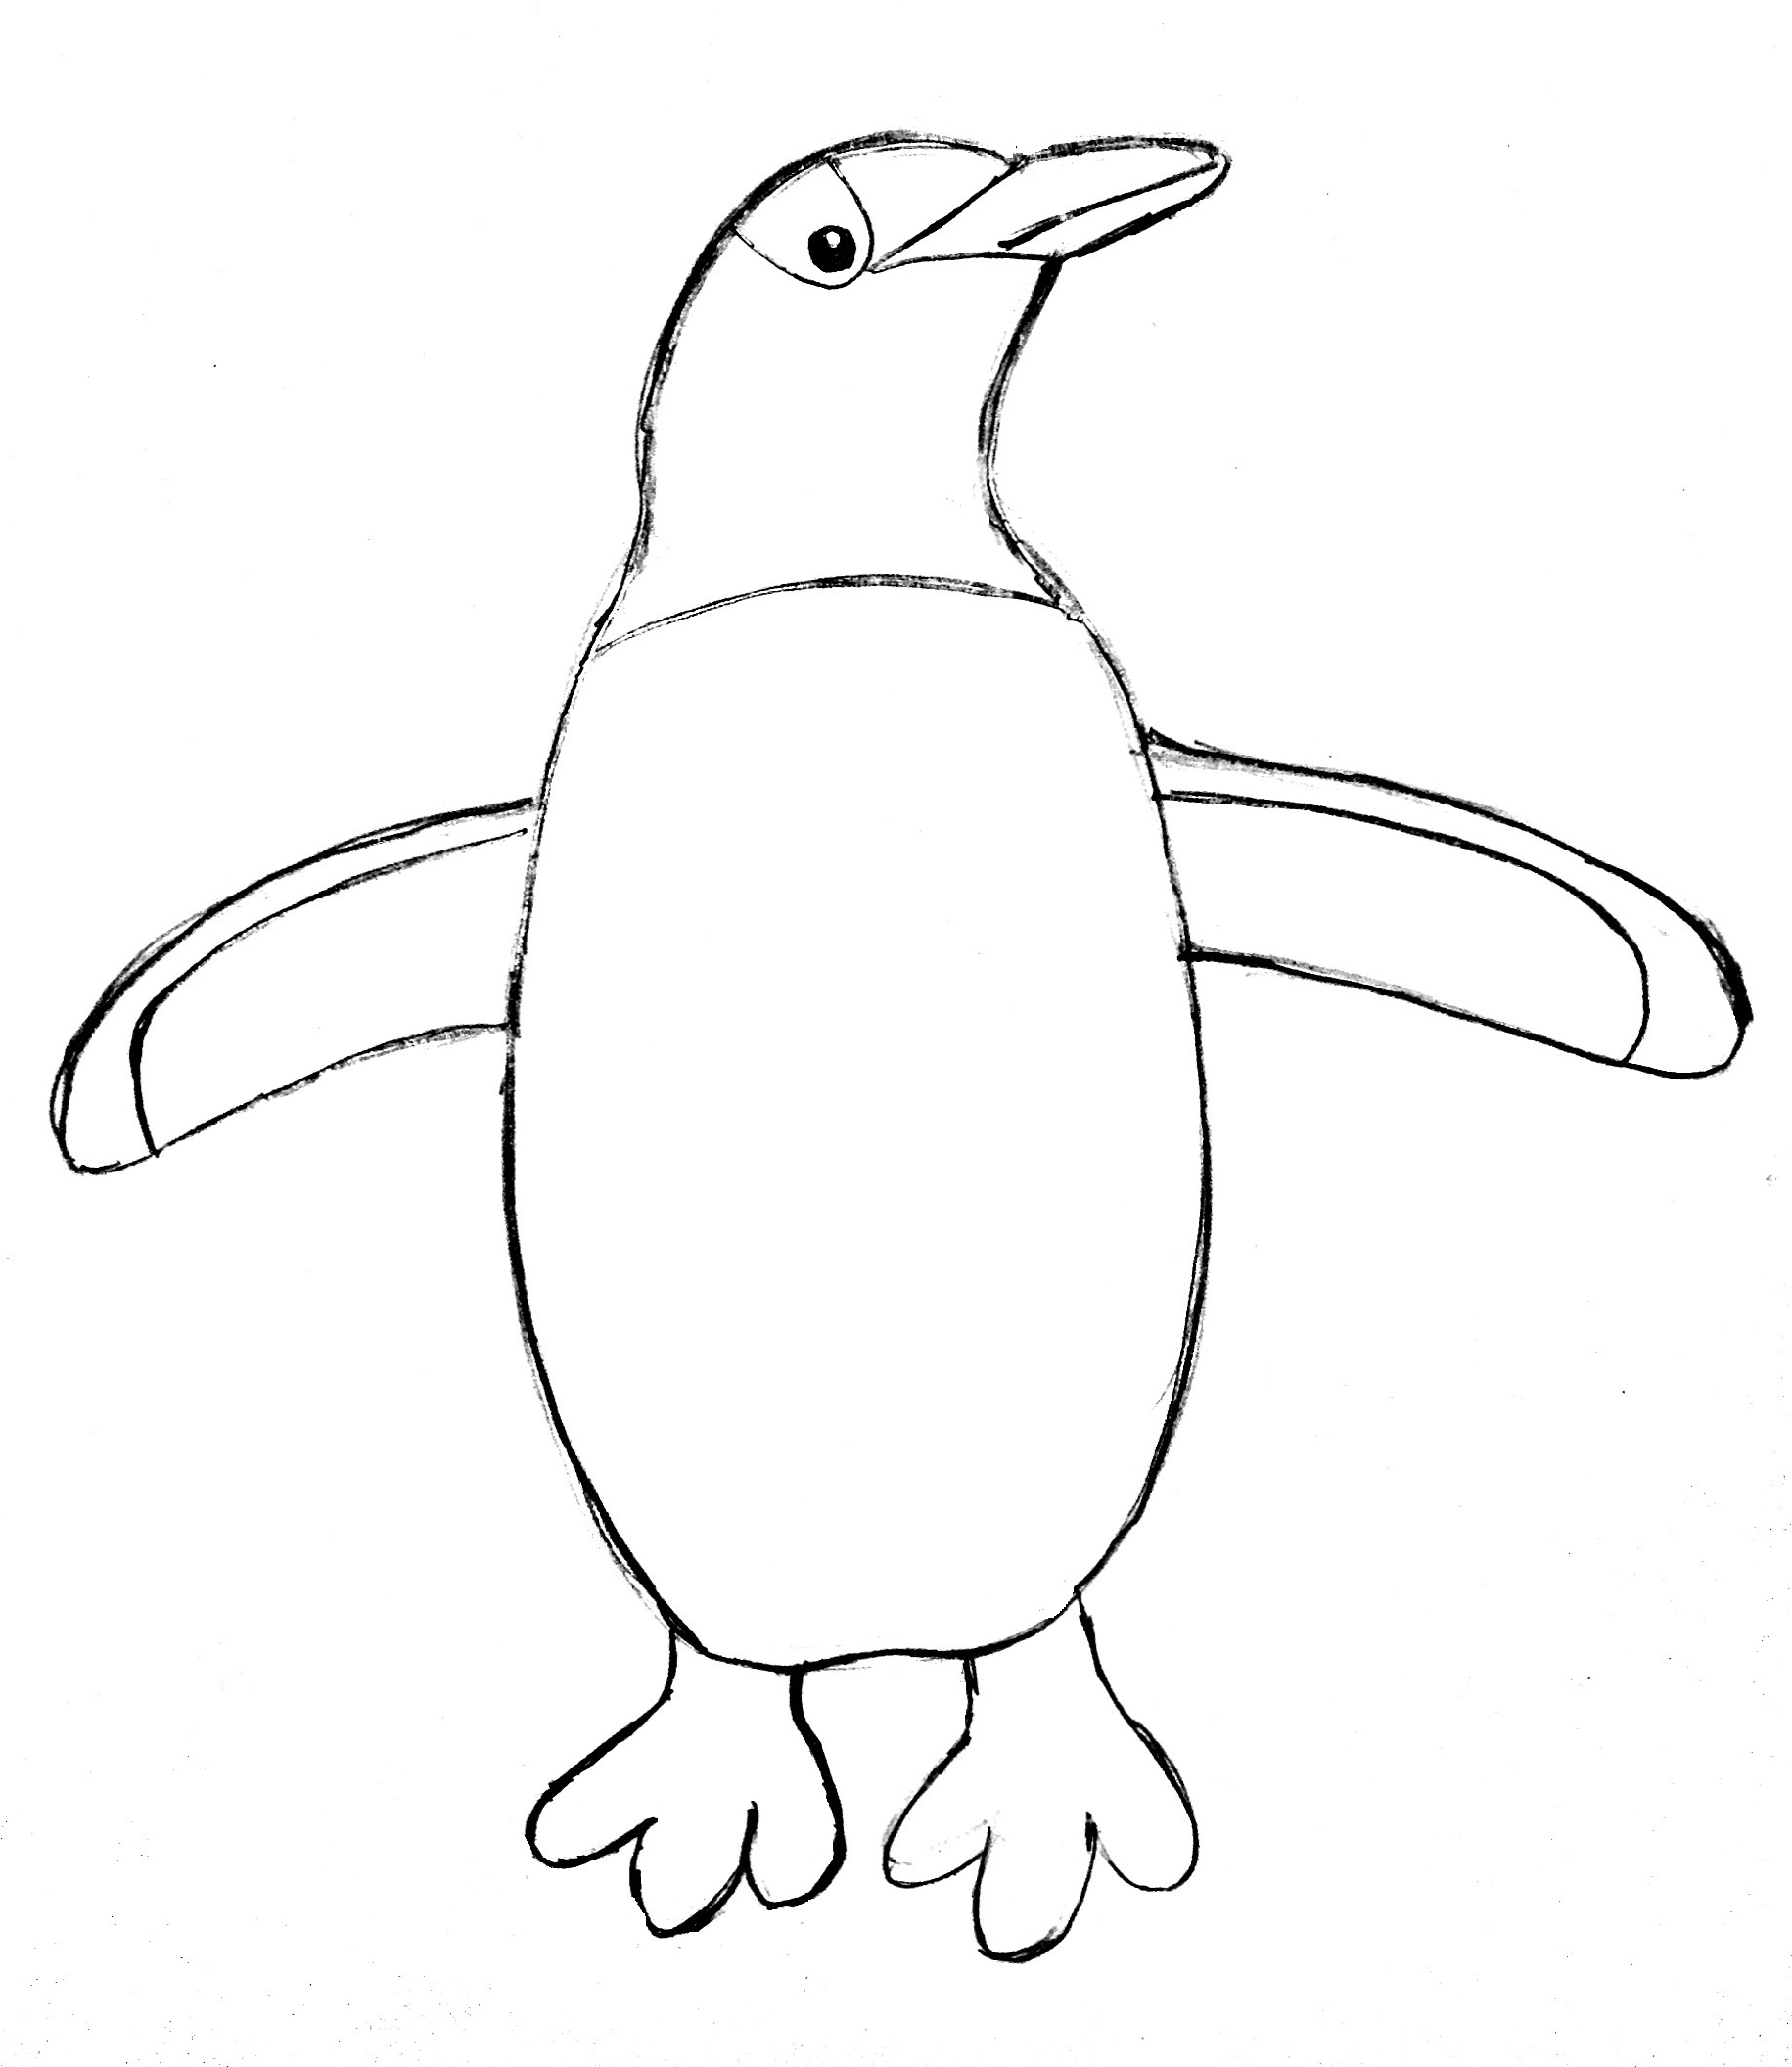
STEP 10:
Color in the black portions of the penguin. You can color very darkly with a pencil or fill it in with a pen.
STEP 11:
Only one more thing to do! Add claws and webbing to the penguin’s feet.
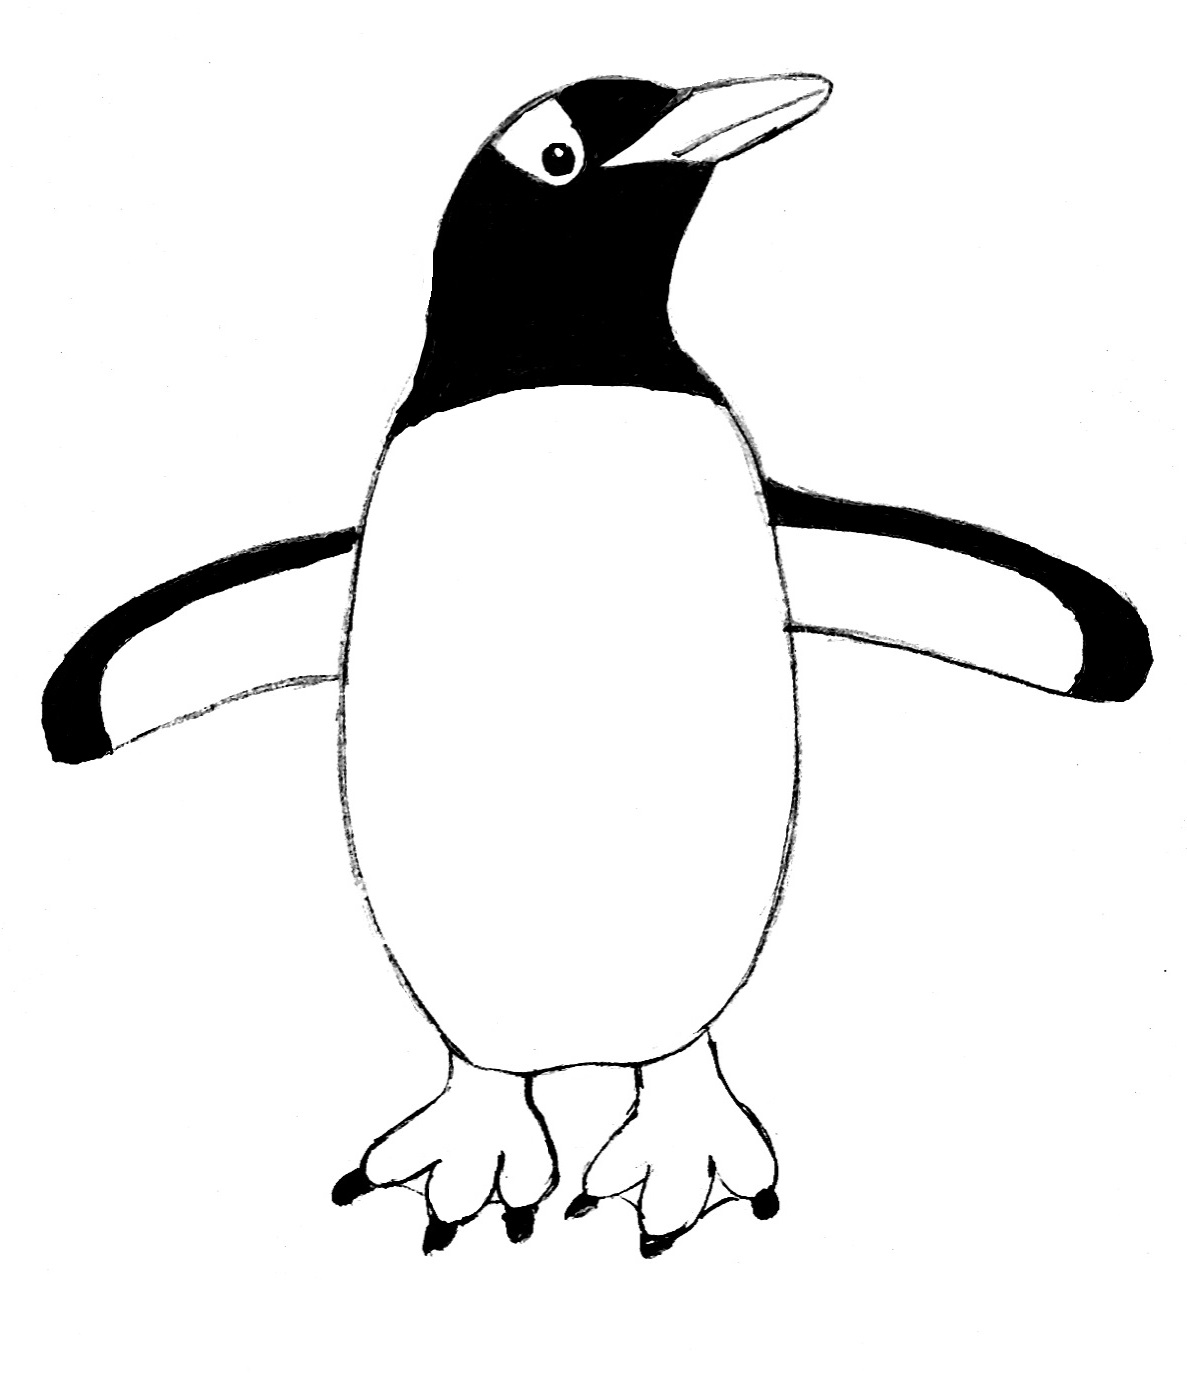
That’s it! Congratulations on finishing a pengin drawing!

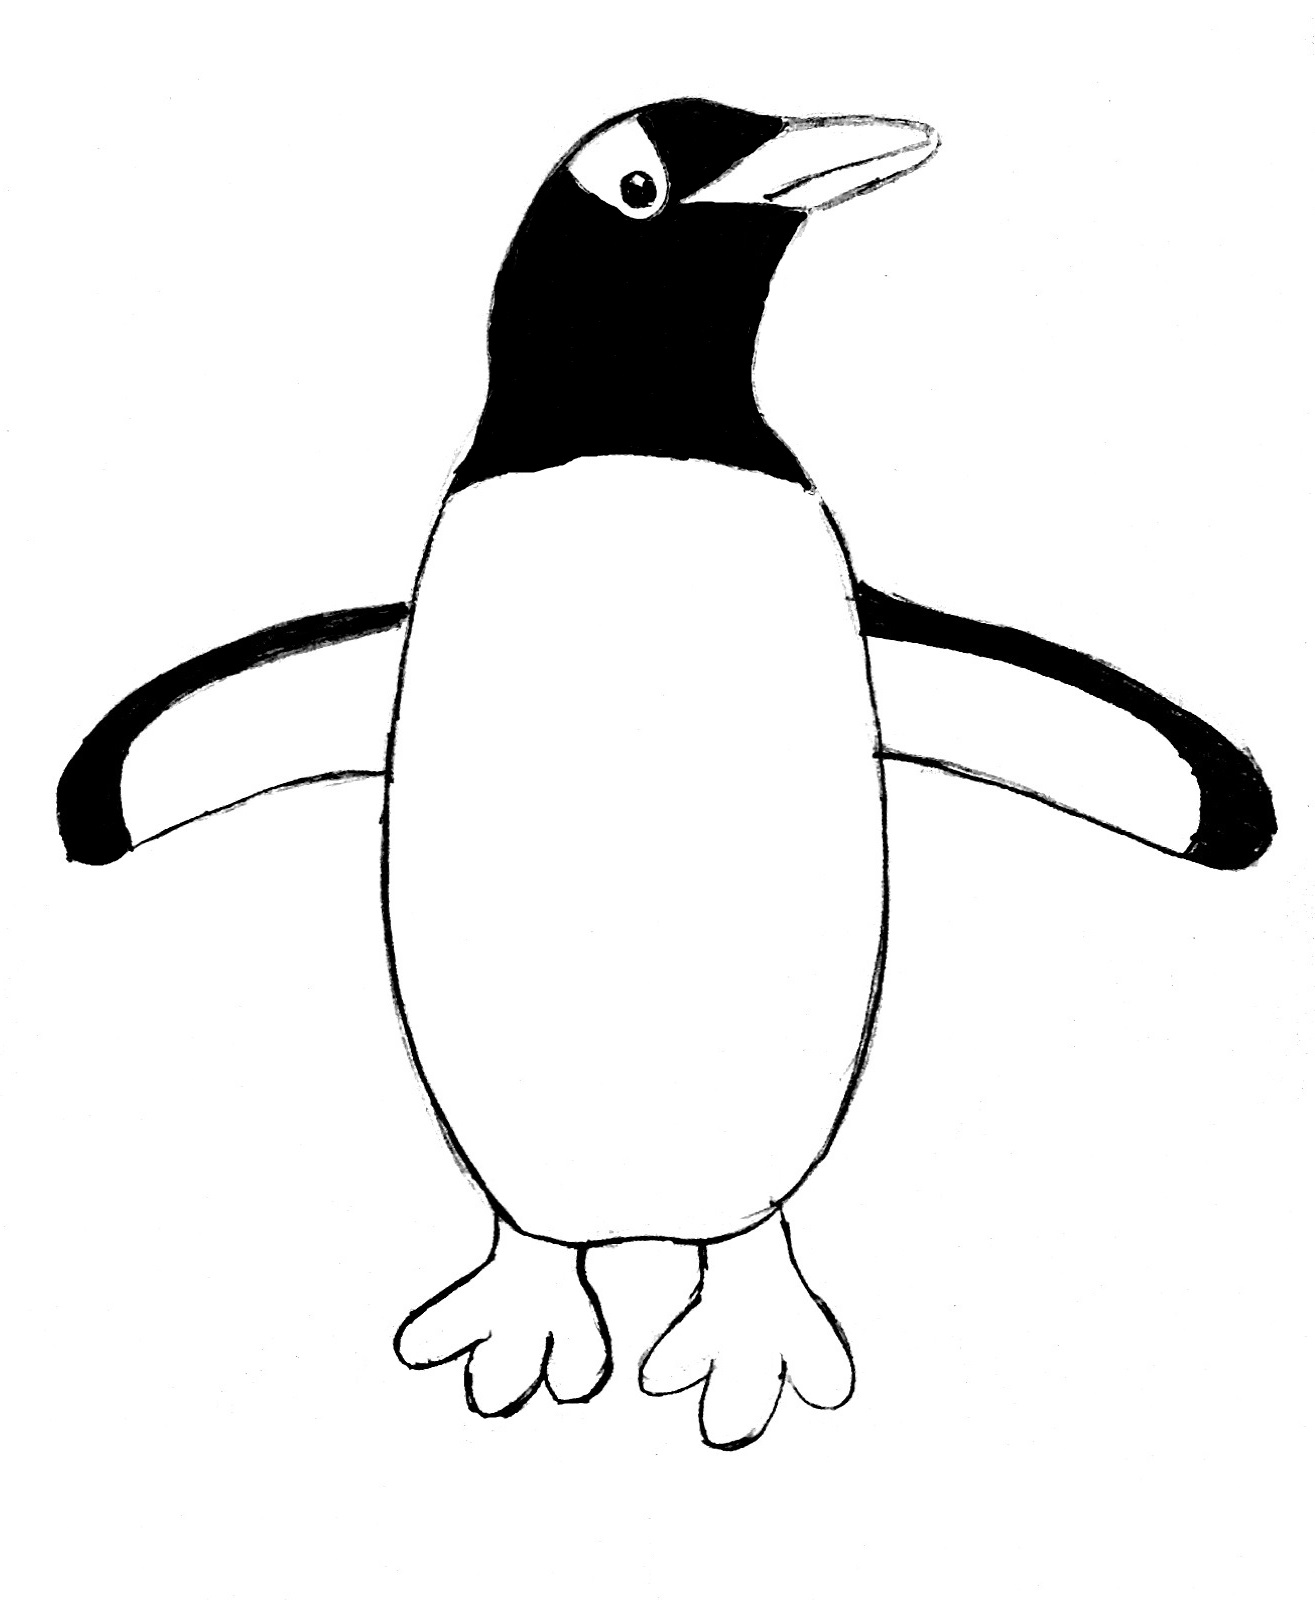
very good but wishing their arms and feet were a little bit better
Feel free to improve on the drawing! A good reference picture can really help!
This penguin is great I’ve used it for two geography projects and it makes my life easier
great i hope it comes out well
After step 8 it just kind of gets really bad
It works!!!!!! Thank you
Yay! 🙂
Very helpful tx