Below are several pen and ink techniques you can practice. Here’s how to start:
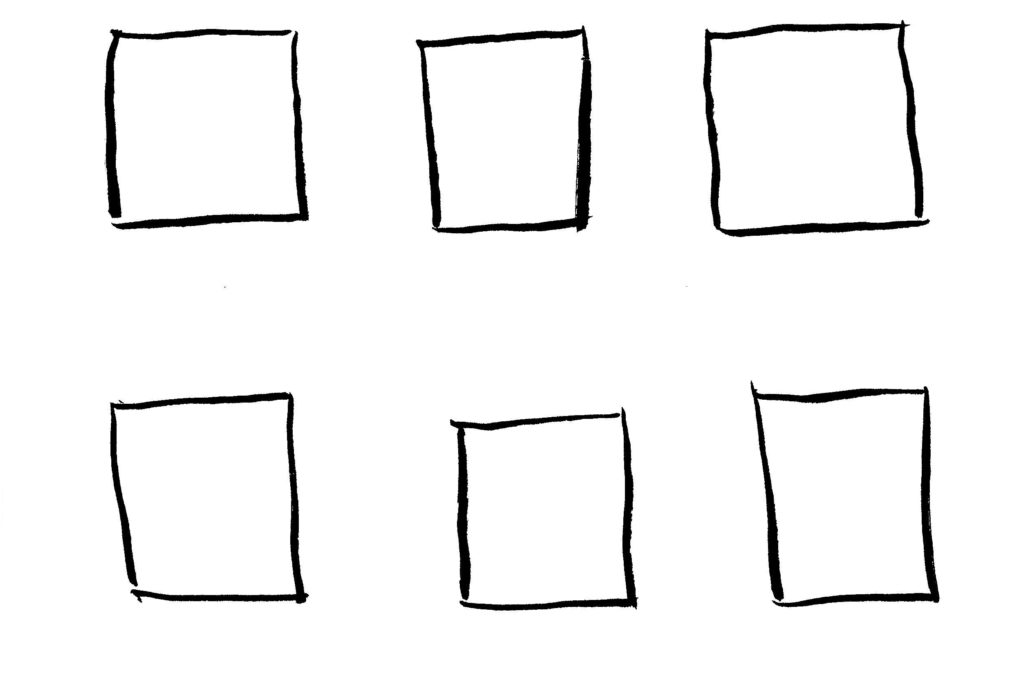
To begin, on your practice paper, draw six squares with your pen, like this. Don’t worry if they’re not straight – remember, this is just practice! 🙂
1. In the first square, draw a series of straight lines, all going in the same direction. This is called HATCHING. 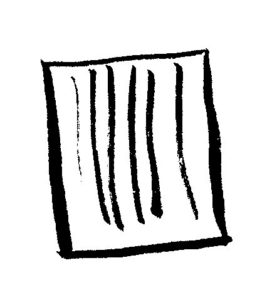
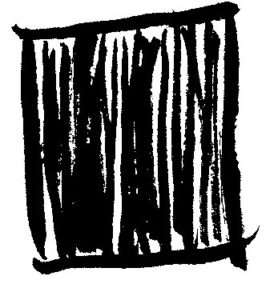
2. In the second square, draw the lines again, this time closer together. As you can see, when you are hatching, the closer the lines are, the darker your object will appear.
Hatching is often used when adding shadows to a picture drawn inpen.
3. In Square #3, draw straight lines again, this time in opposite directions, criss-crossing them. This is called CROSS-HATCHING, and it’s also commonly used when shading.
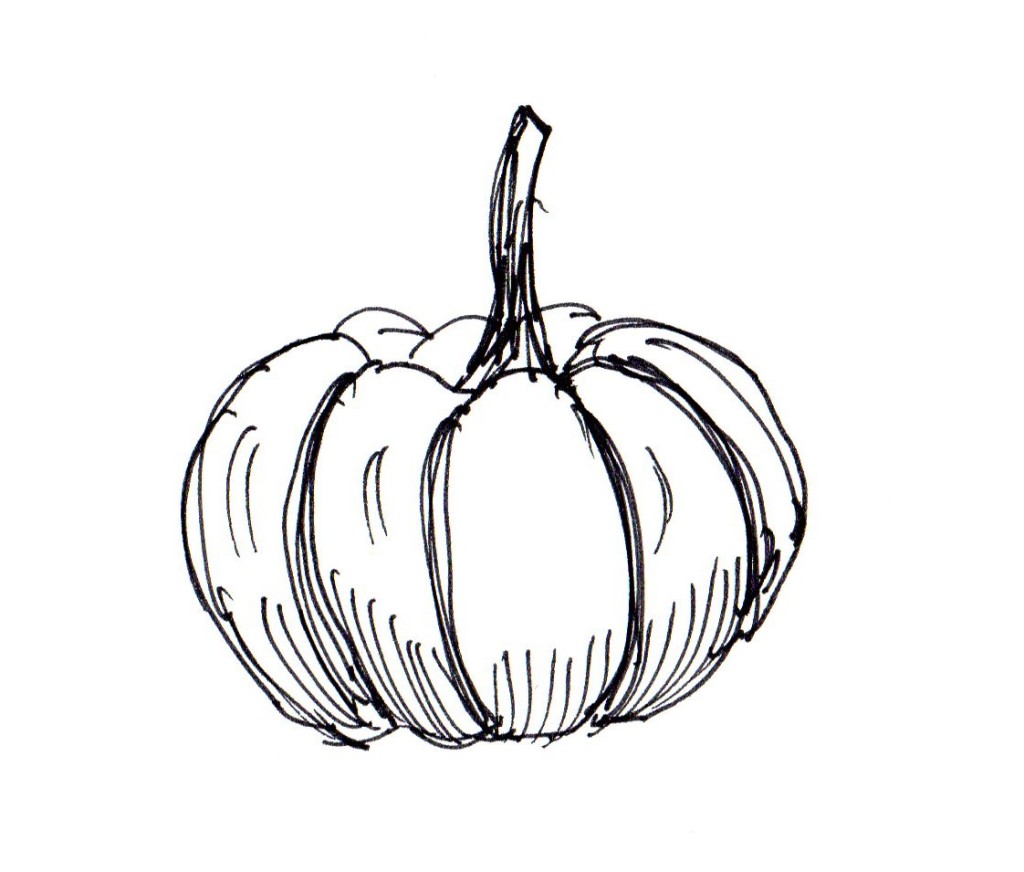
4. In Square #4, we’re going to draw lines going in the same direction again, though this time we’re going to curve them. This is called CONTOUR HATCHING.
Contour hatching is used when drawing curved objects to indicate the round shape, such as jars, balls, bowls, etc.
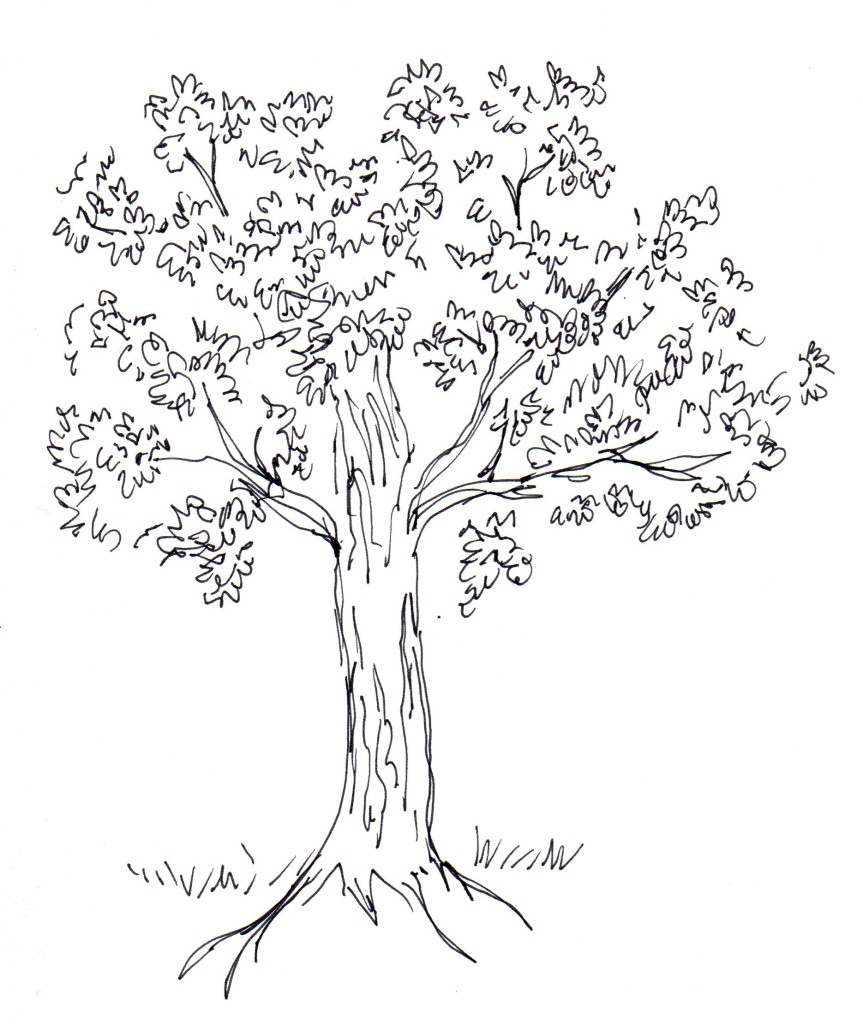
5. In Square # 5, use your pen to create a number of short squiggly lines, going in many different directions. This is referred to as SCUMBLING.
Scumbling creates a nice effect when drawing tree leaves or curly hair.
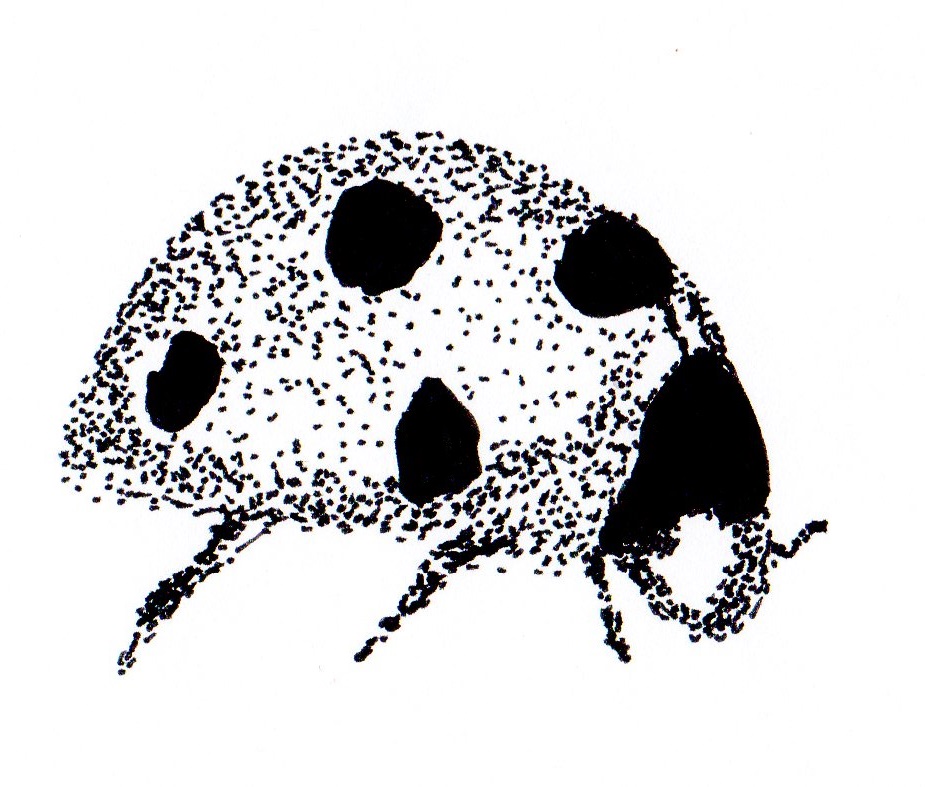
6. In Square #6, draw only dots, some close together, and some further apart. Notice that the ones close together create a darker appearance on the paper than the dots that are further apart. This technique is known as STIPPLING.
Though stippling can be time-consuming to create a large picture completely from dots, the results are beautiful.
Which is your favorite pen and ink technique? I have to admit, I enjoy all of them!





Please note: Only family-friendly comments will be published.