My high school art class has been working with sculpey lately, and we had quite a bit left over after our last project. I decided to look for one more technique for the students to learn before we moved on. I came across this tutorial by A Beautiful Mess on how to make a marbled ring bowl. It seemed like a good way to learn a marbling technique that they could use to make other things.
I have 15 students in the class, so the hardest part was gathering all the supplies they would need. We already had the sculpey and sculpey tools, but I still needed bowls to shape the sculpey on. I ended up taking a late-night run to Wal-Mart, where I found clear little bowls for about $1.25 each. Between two stores, I was able to find enough for the whole class.
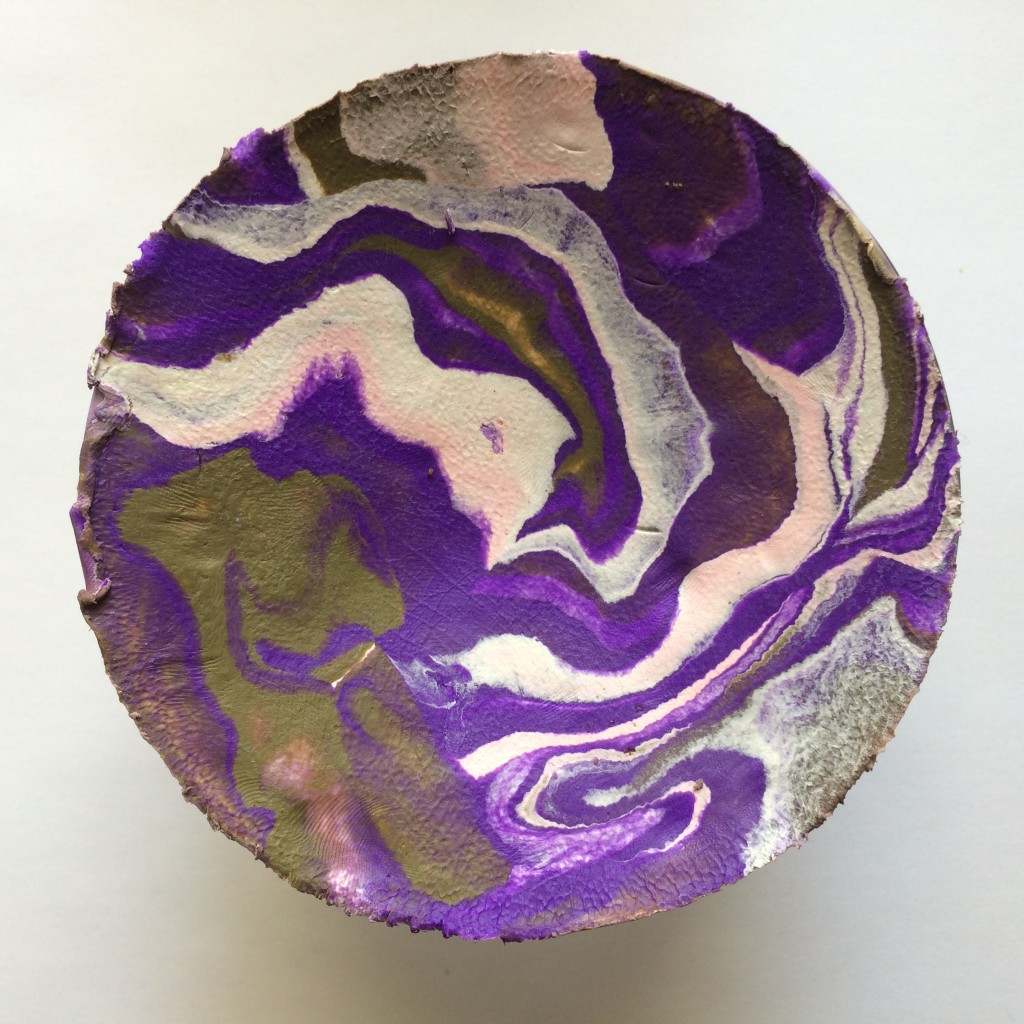
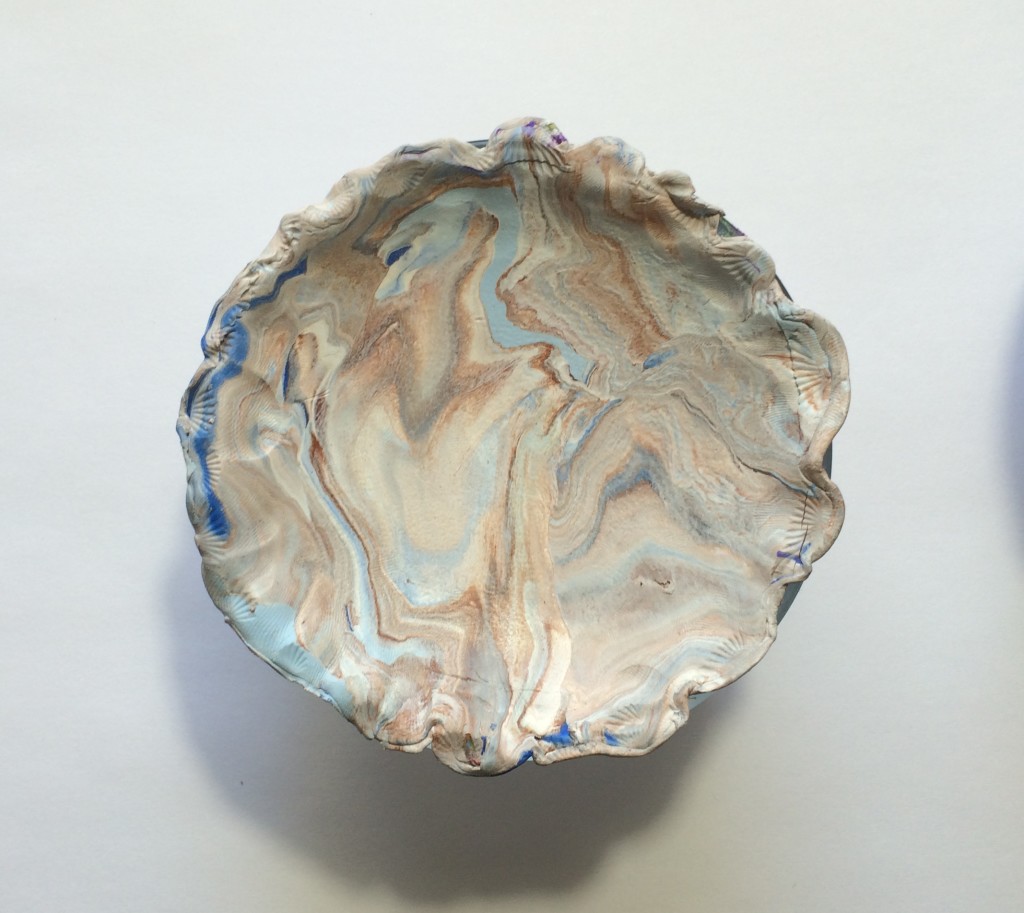
Here are some the students did following the directions online:
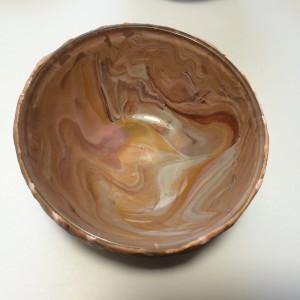
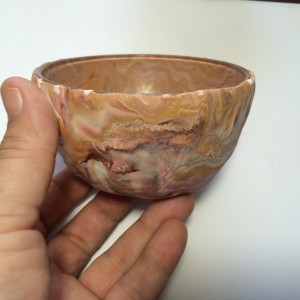
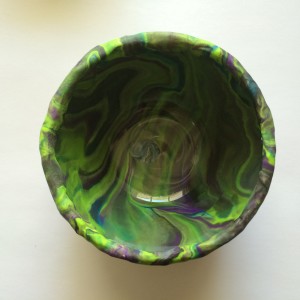
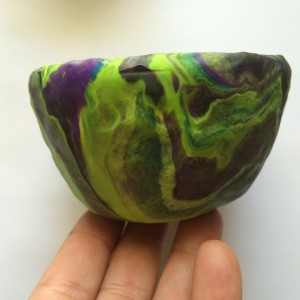
Then one of the students decided to cover the whole outside of the bowl with the marbled clay. First, she followed the instructions to create the marbled design. Then she flipped the bowl upside down and covered it. She turned the bowl right-side up again and brought the edge of the clay up over the edge of the bowl to finish it. Because the bowl is clear, you can see both sides of the marbled clay. It looks so pretty that we decided just to bake the bowl with the clay on it.
BUT — we discovered that after baking it according to the directions on the package, the bowls began to develop very fine cracks in the bottom. Some even had cracks on the side. After doing a little research, I found where the glass expands and contracts as it’s heated and cooled, causing the cracks. There were a few ideas about how to avoid them, but that will be a project for another day. In the meantime, I’m going to try to figure out how to protect the bowls so the cracks don’t continue to grow. They aren’t noticeable unless you are looking very closely, so if I can find something to seal them with, they will be fine.

Please note: Only family-friendly comments will be published.