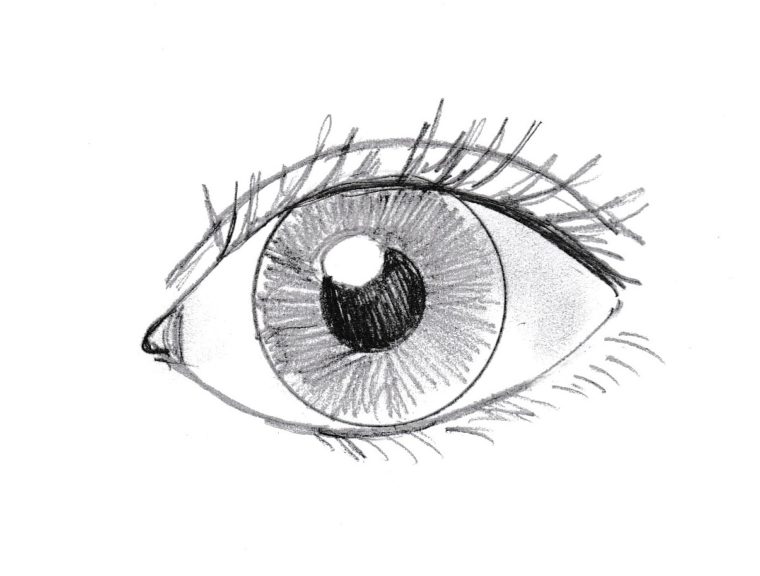
Here are some simple steps you can follow to draw an eye.
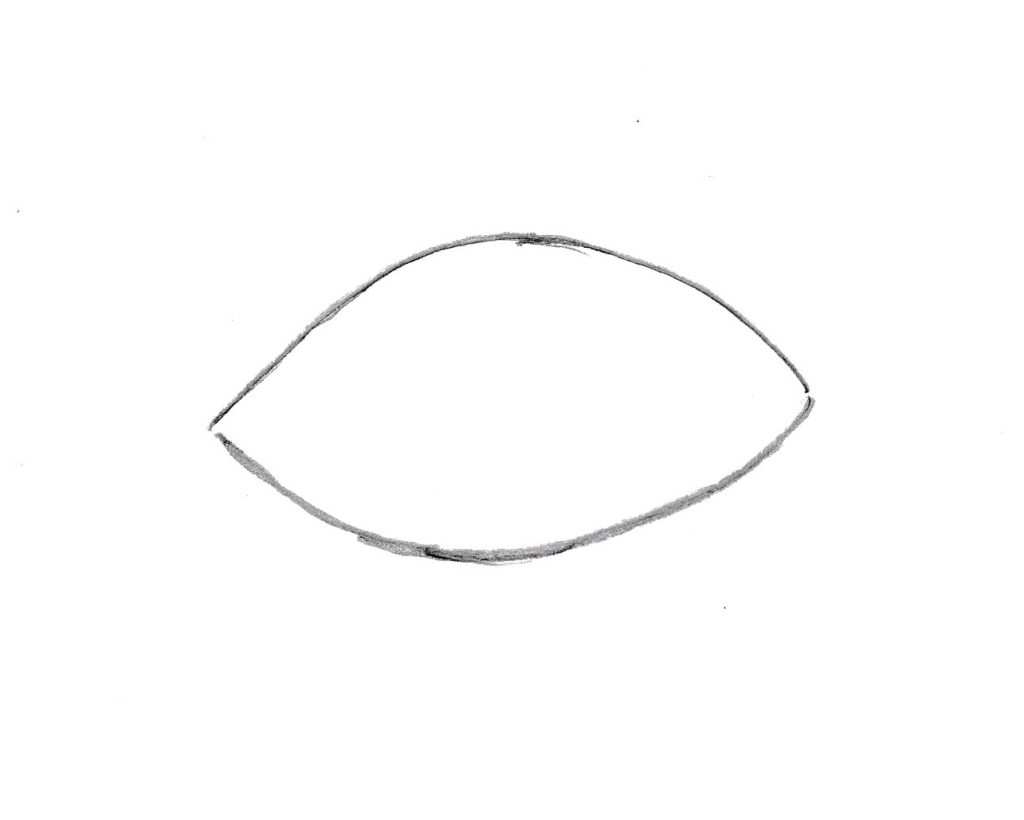
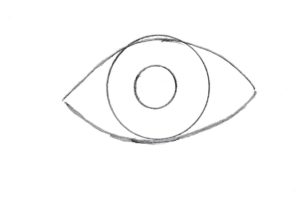
1. Begin with the shape of the eye. Everyone’s eyes are shaped differently, and getting this shape right will help the drawing look more like the subject. To draw the shape of the eye, study the outline. Does the top line curve? Is it straighter in some places? What does the bottom line to?
Below is a sample outline of an eye:
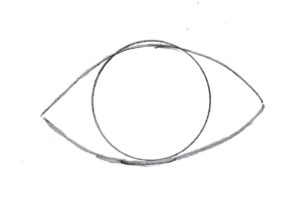
2. Now it’s time to add the iris, the colored part of the eye. No matter what the outside shape of the eye, the iris will always be a perfect circle. Because of this, part of the iris may not show up — the eyelids may cover some of it.
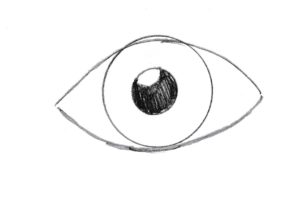
For example, in the eye below, you can see that even though it’s a wide eye, the iris still doesn’t fit – it’s a little too big. That’s okay — keep the iris as a circle. Even if the eyelid covers up most of it, keep it a circle.
3. Next, add the pupil. The pupil is the dark circle inside the iris. The pupil is also a perfect circle.
You can make the pupil almost any size. Pupils change size depending on the light in the room. If you draw a person with a smaller pupil, they might appear more sinister. A larger pupil looks more friendly.
4. Now “color” in the pupil with your pencil. The pupil is black, so make it as dark as you can. However, be sure to leave a spot of white. This is the catchlight — the light that is reflecting off of the eye.
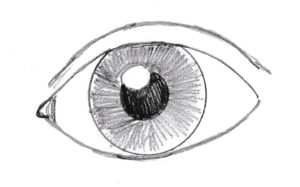
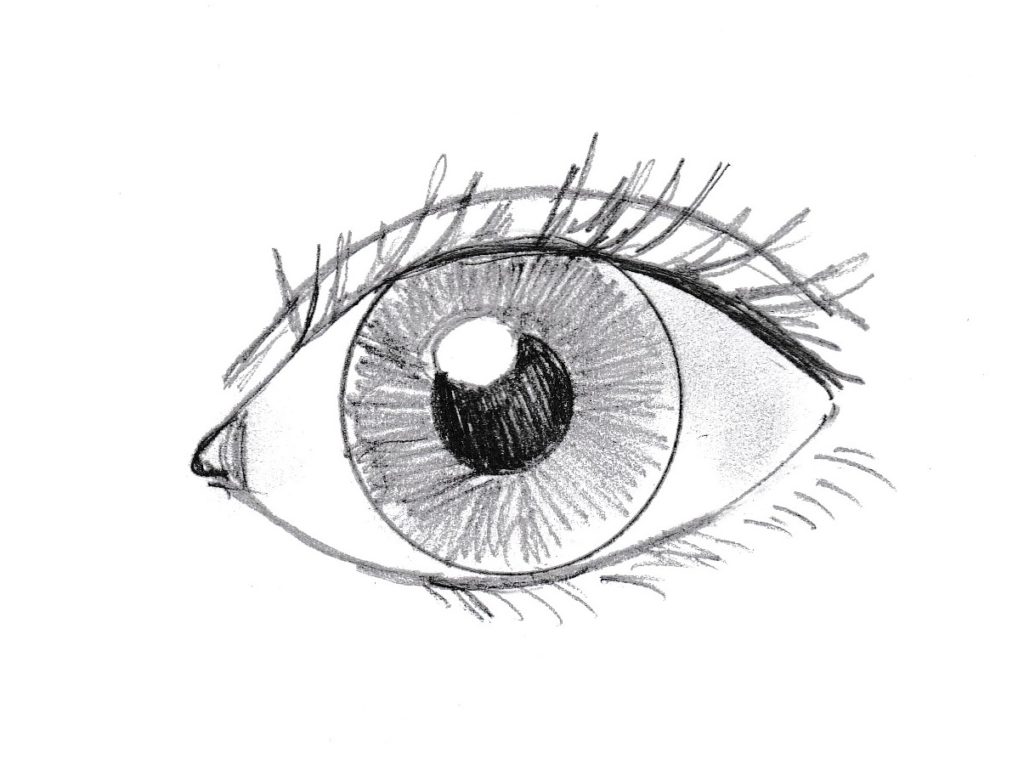
5. Now it’s time to “color” in the iris. Since you’re using a pencil, imagine this eye as a black and white photograph. The iris would not be white; it would be some shade of grey. For a lighter eye, like blue or green, shade the iris with a lighter grey. For a dark brown iris, make it a darker grey. Be careful not to make it as dark as the black pupil in the center.
Notice that to shade this eye, I scribbled lots of little lines going around the pupil like rays going around the center of a sun. Sometimes you can see lines like these in an eye, and sometimes you don’t. You can just color in the eye with a pencil instead.
Notice also that I made the catchlight go out from the pupil into the iris a little bit. That’s because the catchlight is reflecting off of the whole eye, not just the pupil.
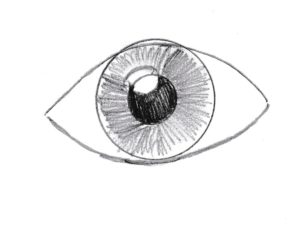 6. Time to add an eyelid. Look at the eyelid over the eye you are drawing. Draw a line that follows the shape of the lid. Remember — eyelids are all different shapes too.
Erase any extra lines where the iris overlapped the outside of the eye.
You can also erase any extra lines that show up in the catchlight.
In the corner of the eye, add a line to show the caruncle. (Yes, I just learned that word!) It’s the red part at the inner corner of the eye.
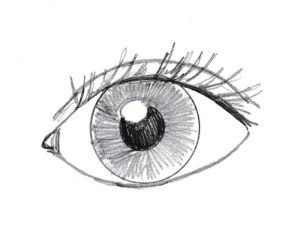
7. Add the upper lashes. If the person has short lashes, you can just draw a thick dark line on the upper curve of the eye.
8. To finish the eye, you’ll want to shade in some of the white. The “whites” of our eyes aren’t always white — there’s usually some sort of shadow on them. To make a slight shadow, rub your pencil on a scrap piece of paper. Now you have some graphite on the paper. Rub your finger over the graphite to pick some up. Now gently rub it on the part of the eye you want to shade. If you get too much on it, just use an eraser and try again.

i love drawing and plus i have a drawing contest next week and i really want to win so my mom would be proud of me.
please post more drawing of eyes i love you draw them.
THANK YOU!!! This was perfect for my project! 🙂
Thanks so much this really helped me
Hay your art is cool, It help me allot Thank you 😀
Thank You
thank you so much this is helpful for me I draw the perfect eye at the 2nd try
You’re welcome! 🙂
I LOVE THIS. IT HELP ME A LOT
I’m so glad!