Drawing animals in pen and ink can be challenging — and a lot of fun!
Supplies You’ll Need:
- Paper (I like to use Bristol)
- Pencil
- Eraser
- Fine-tipped pen
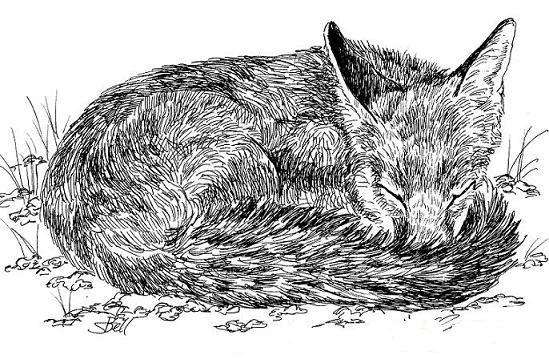
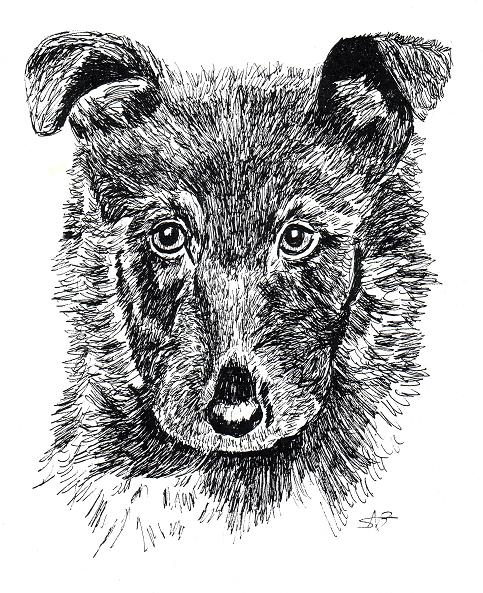
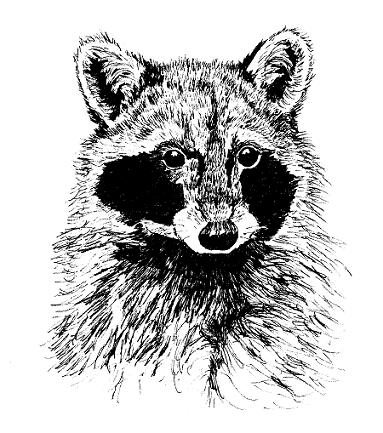
For this lesson, choose a picture from the samples below. When you are first beginning to draw with ink, it’s often easier to start off copying pictures that are also drawn with ink. This way, you learn how to use the pen to create fur as well as kshadows.
After you’ve tried drawing a couple of these animals, find a photo of an animal online (you can use a free photo reference site such as Morguefile.com) or use one of your own. Follow the same steps below as you draw from the photograph.


1. With a pencil, draw the animal on your paper. Consider the basic shapes of the animal, correct proportions, and where the lines connect. Be sure to make any changes now, as it will be very difficult to make any changes once the ink is applied.
2. The animals in the sample drawings all have fur, so be sure to show the fur by drawing short or long lines in the same direction the fur is going.
*Hint: Drawing fur on an animal’s face is similar to drawing straight lines around a circle to make a sun. Think of the fur as the “rays” extending from the center of the sun, the animal’s nose.
3. When you are satisfied with your drawing, trace over your pencil lines with a pen.
**You may choose to draw the animal’s fur in pencil first, then go over it with pen, or you may choose to wait and draw the fur in with the pen after the rest of the animal has been completed.
4. Erase any stray pencil lines you still see. Sign your work!
What is your favorite animal to draw in pen and ink?


Please note: Only family-friendly comments will be published.