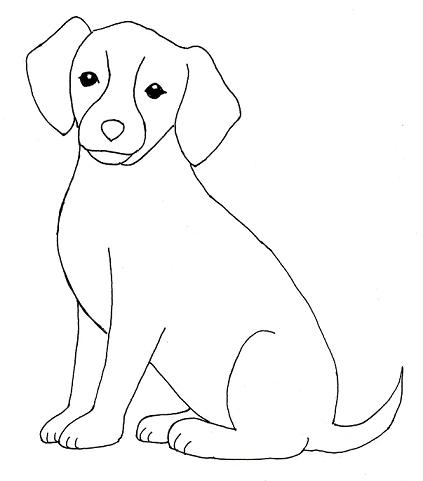
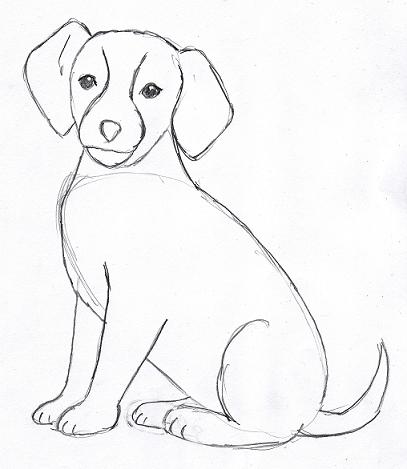
Create your own dog drawing step by step!
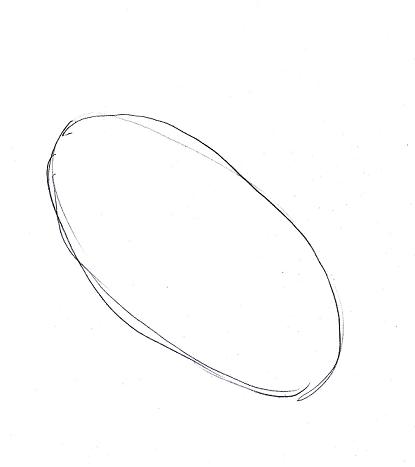
To begin, start with the largest basic shape you see — the dog’s body. The body is a slanted oval. The oval you draw will be a rough sketch — no need for finished, well-defined lines. By sketching the shapes first, you can make sure the placement of the drawing on the paper and the proportions of the various features of the dog are correct. Be sure to draw lightly, as many of these lines will be erased later.
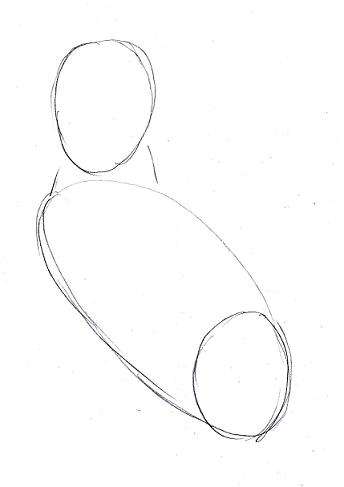
Now that the body is on the page, add the shapes you see for the neck, head, and haunch (upper back leg). Note the head and haunch are again oval in shape. Again, keep your sketches light.
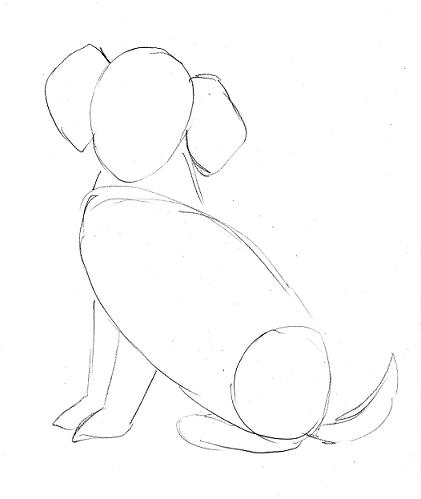
Now add the last few shapes remaining: the ears, the front legs, the back legs, and the tail.
Now you’re ready to add more exact lines. Following the original picture, draw straight and curved lines along the shapes you sketched in. Add the eyes, being sure to leave the white “catchlight”. Also add the nose (notice it is round but comes to a point at the bottom)and curved lines for the toes.
Now go back and erase any extra lines you see. These should be easy to erase if you drew them lightly.
Congratulations! You did it!
NOTE: If you are doing this lesson with a child under the age of eight, you will probably find that your child has a hard time understanding the concept of drawing the shapes first. In this case, just let your child follow the shape of the lines, paying particular attention to where the lines connect with each other.

very good
omg I’m the worst at drawing do you have tips
yes 1 get computer 2 set paper on screen 3 traced it 4 yell all done. have a good day 🙂
a beagle
it is a beagle