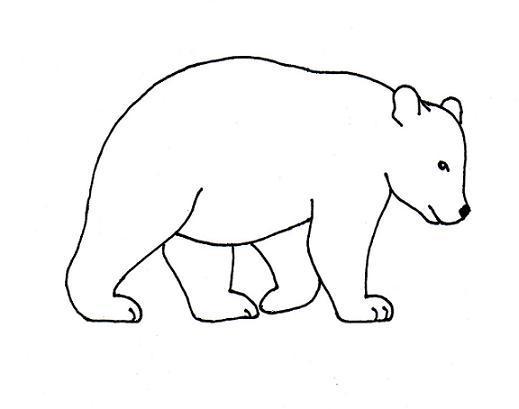
Follow these step by step directions to create your own bear drawing!
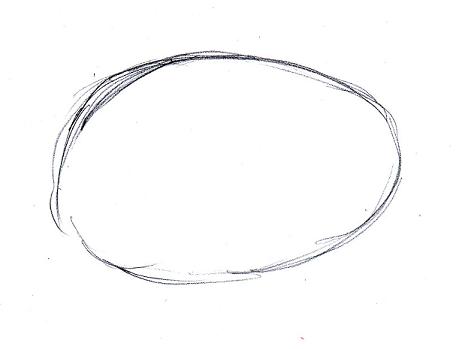
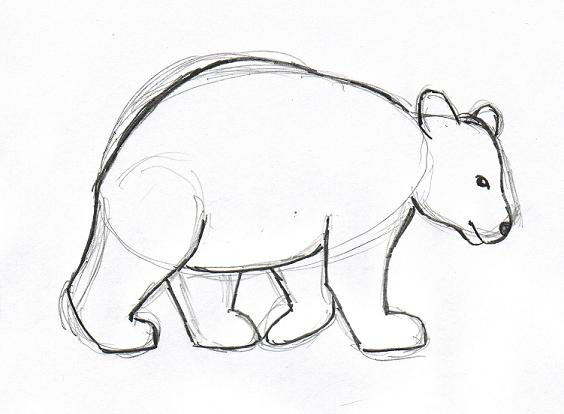
Begin by looking for the basic shapes in the picture. In this drawing, the bear’s body is the largest shape — a round or oval shape. Beginning your drawing with the largest shape helps ensure that your picture won’t run off the page (it might be drawn too large for the space or misplaced on the paper). As you can see by the shape below, a rough sketch of the shape is sufficient. Be sure to draw LIGHTLY — you’ll be erasing some of these lines later.
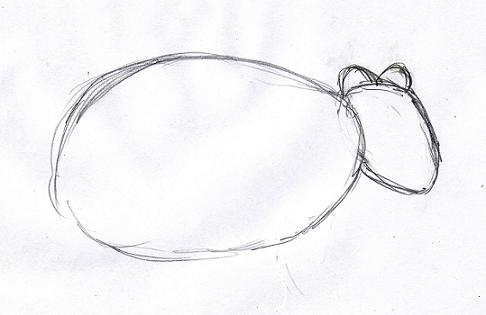
Once you have the body in place, begin adding the additional shapes you see. The head, also, is somewhat oval shaped, and the ears look like semi-circles. Again, this is a rough sketch to get everything proportional and in the right places, so be sure to draw lightly.
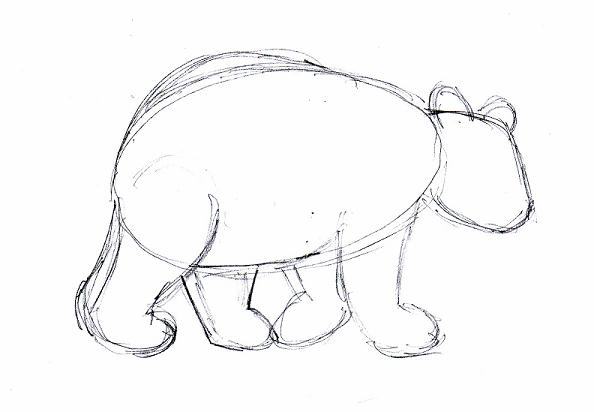
Now add the basic shapes of the legs. These are a little more rectangular with rounded paws.
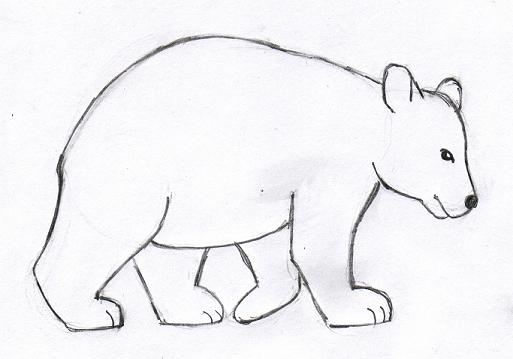
Now that the bear is in place, go back over your sketches with solid lines. Pay close attention to the curves in the lines as well as where the lines connect with each other. In the example below, you can see where my solid lines didn’t quite match up with my sketch. That’s okay — the proportions are the same, and that’s what I needed to establish first.
As a final step, go back and erase the light sketches you drew at the beginning. The lighter these lines are, the easier they are to erase.

I LOVED IT i will do it again nut i traced it i didn’t do it by myself it help more by doing that
I think tracing is fine! It can help you understand shapes and lines until you feel confident enough to try it free-handed.
nice
I drew a bear🐻
It was really helpful.