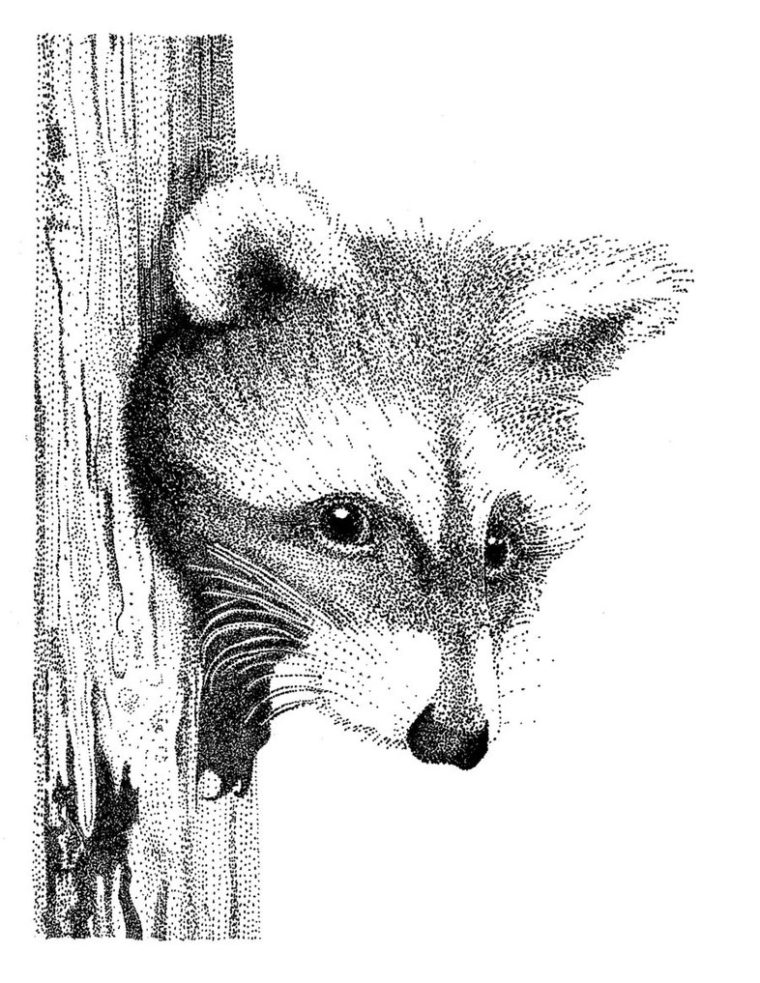
Stippled drawing of a raccoon by Goldencloud
Stippling involves using dots instead of lines to create a drawing.
Supplies
Here’s what you’ll need to create your own piece of art by stippling:
- Drawing paper (When I’m using pen, I like to use a heavier paper, such as Bristol or even cardstock. )
- Pencils
- Erasers
- Pens (I like using the Micron Pens. The finer the tip, though, the more dots it will take to create the picture. An 05 would probably be as small as I would go when just starting out. If you are purchasing a pen for a student, Very Fine Point Sharpies work well.)
Practice
Before you start your drawing, you can practice creating different values by stippling. One way to do this is to create a stippled value scale. Here’s a scale created by artist Megan Eckman:

Notice the dots in Box #2 are fewer and further apart. The white space creates a light value. As more dots are added to boxes #3, #4, #5, and so on, each box appears darker and darker. Finally, in box #10, there are so many dots that the white space is almost gone.
Create Your Art
- To start, choose an object or photo to use as a reference. You can find good reference photos in magazines and old calendars as well.
- Sketch the object on your paper with a pencil. Make any changes with your pencil and eraser before using the pen. Once applied, the ink can’t be erased (although I have used white-out or white paint to make corrections.)
- Once you are satisfied with your drawing, begin stippling, or making dots, with your pen. Remember, to create a darker area, place more dots closer together; to create the appearance of a lighter area, spread the dots apart. If you are working with a student, be sure to point out to the students the darker and lighter areas as they stipple.
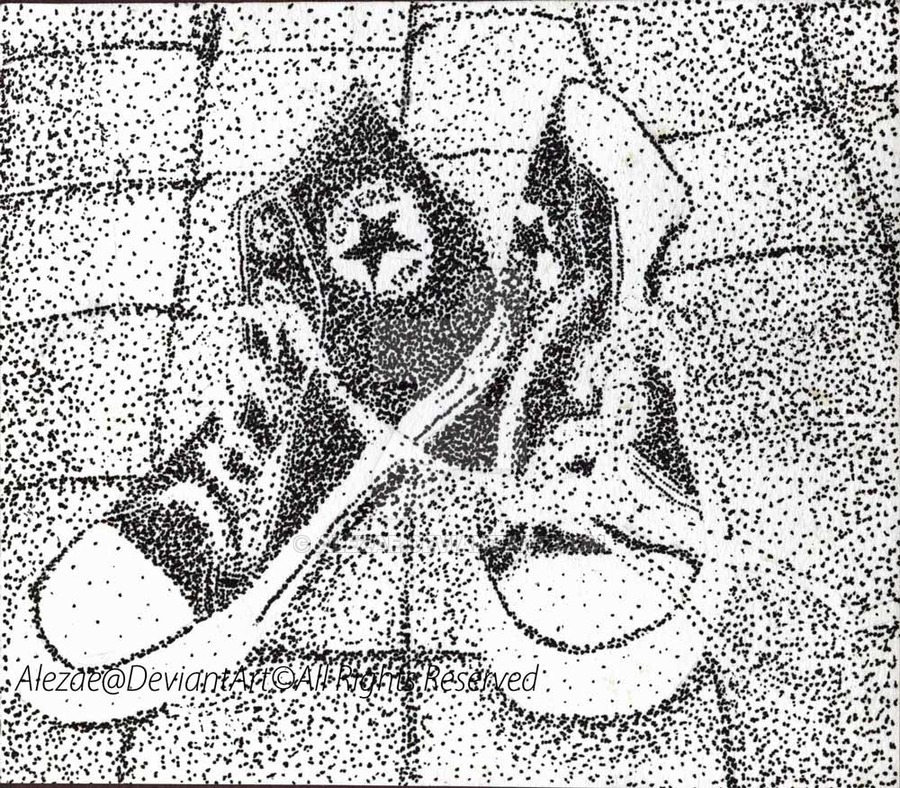
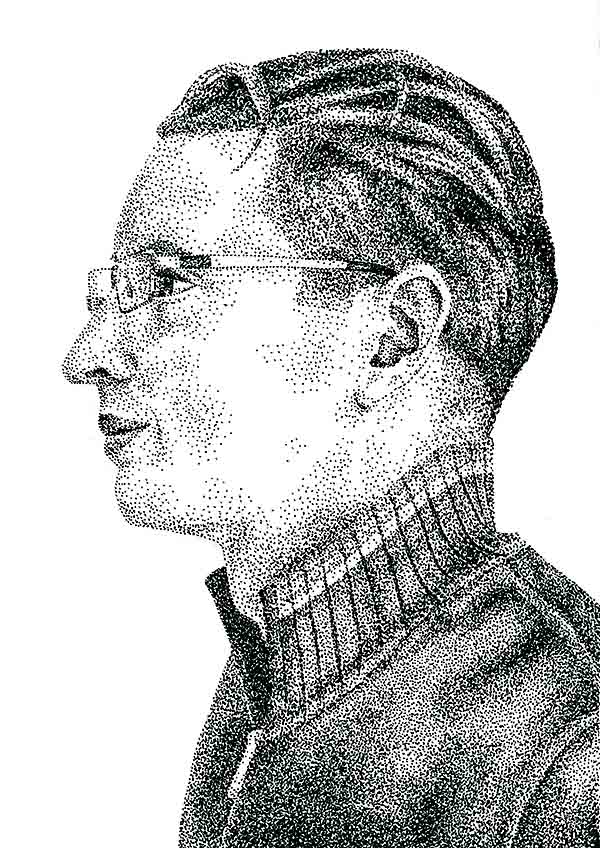
Here are some more examples help you feel inspired:
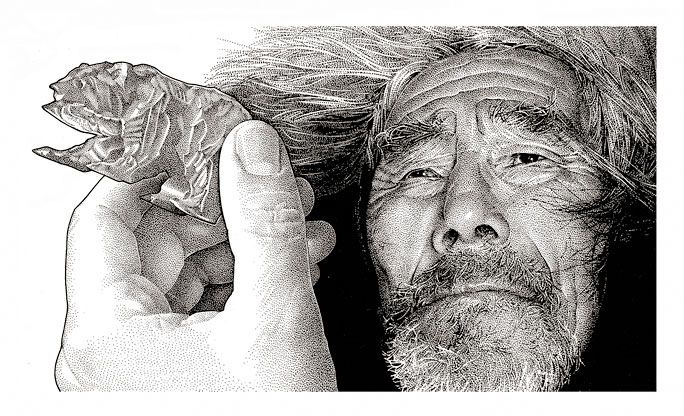
Your piece can even be as detailed as this portrait by Randy Glass!


Please note: Only family-friendly comments will be published.