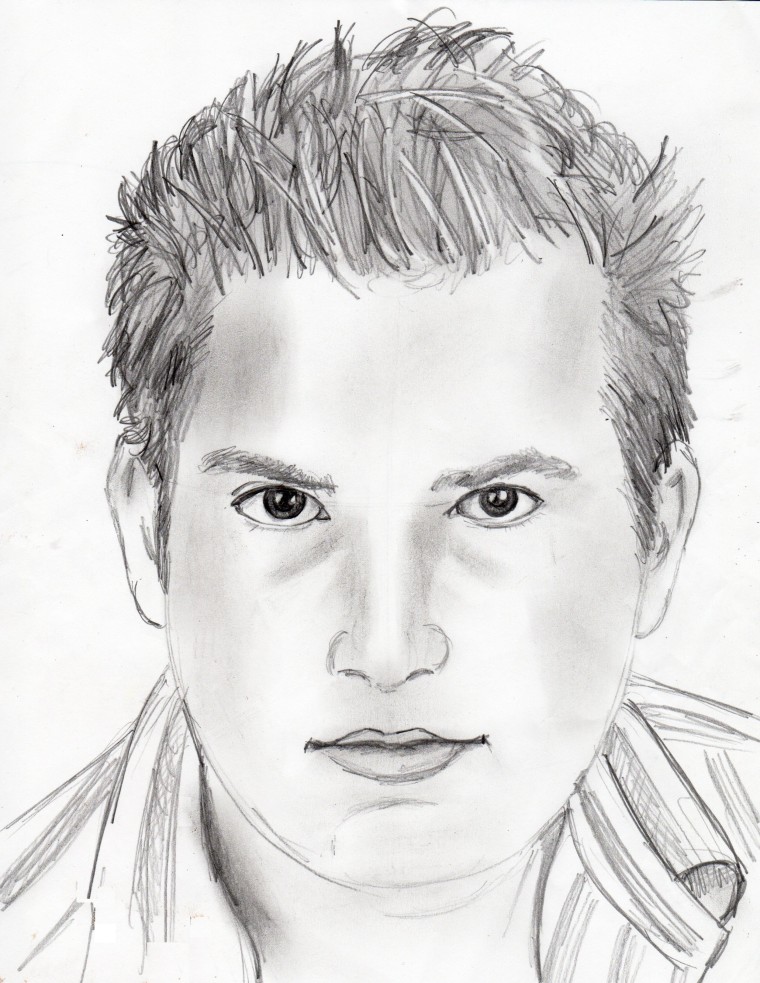
Here are some tips I give my art students when we’re drawing a face in class.
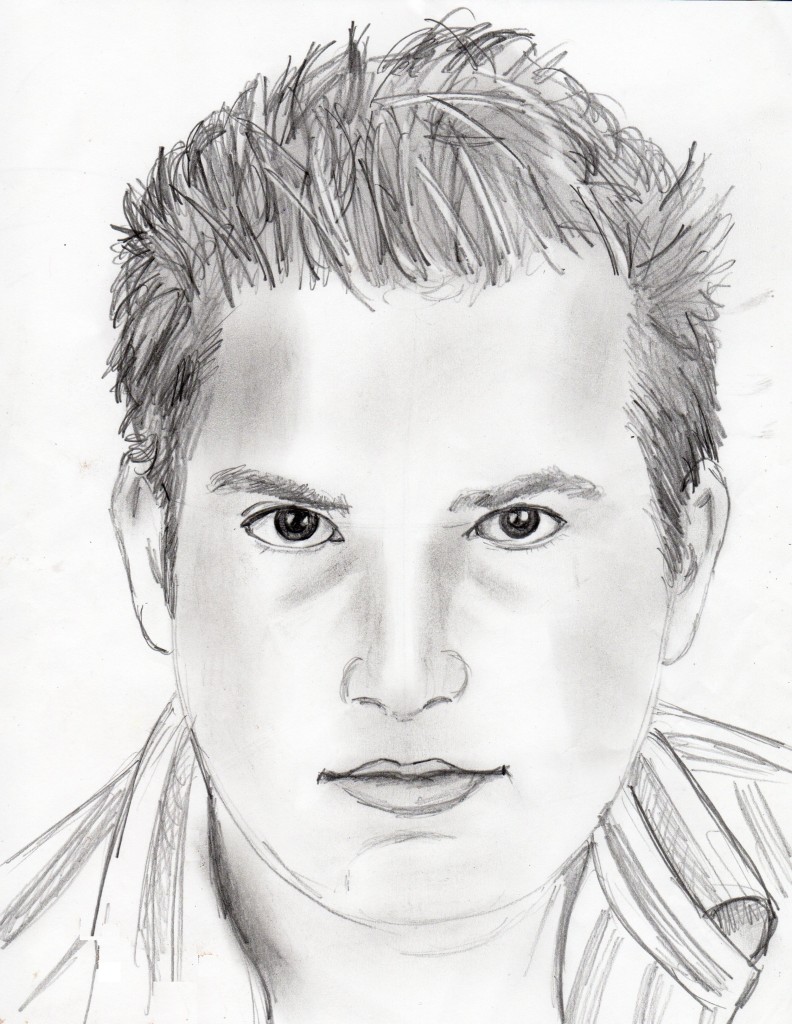
- If drawing from a photograph, change the image to black and white. It will be easier to see all the different grey tones in the picture.
2. Use a very light pencil to start (a 2H, 3H, or 4H). It will be easier to erase and make any changes.
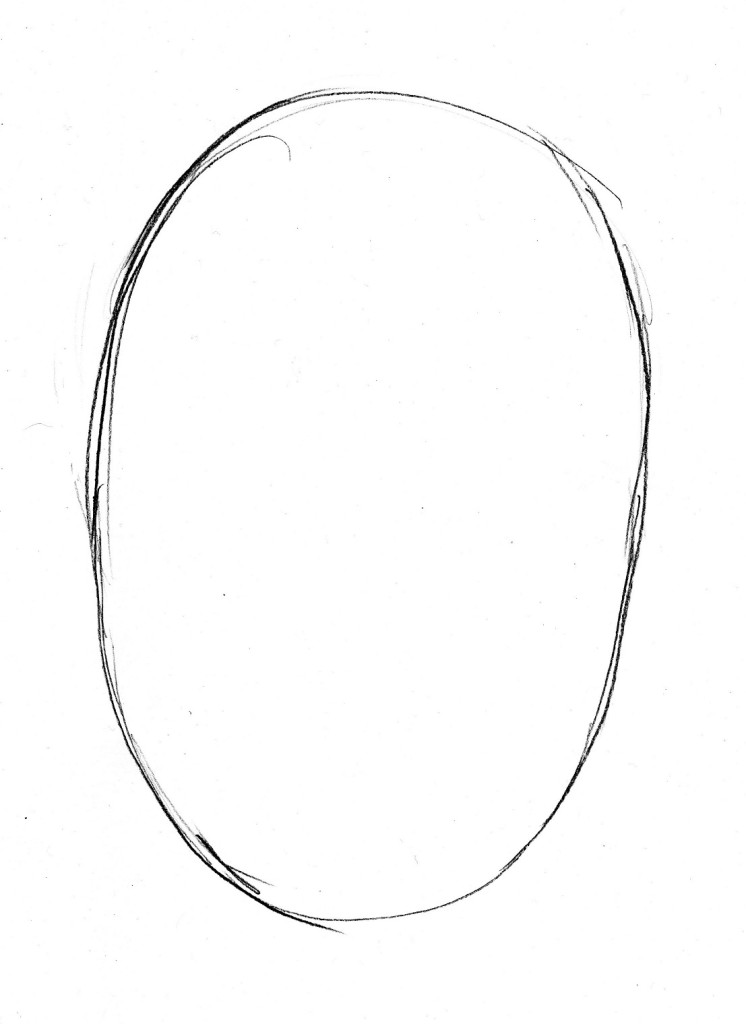
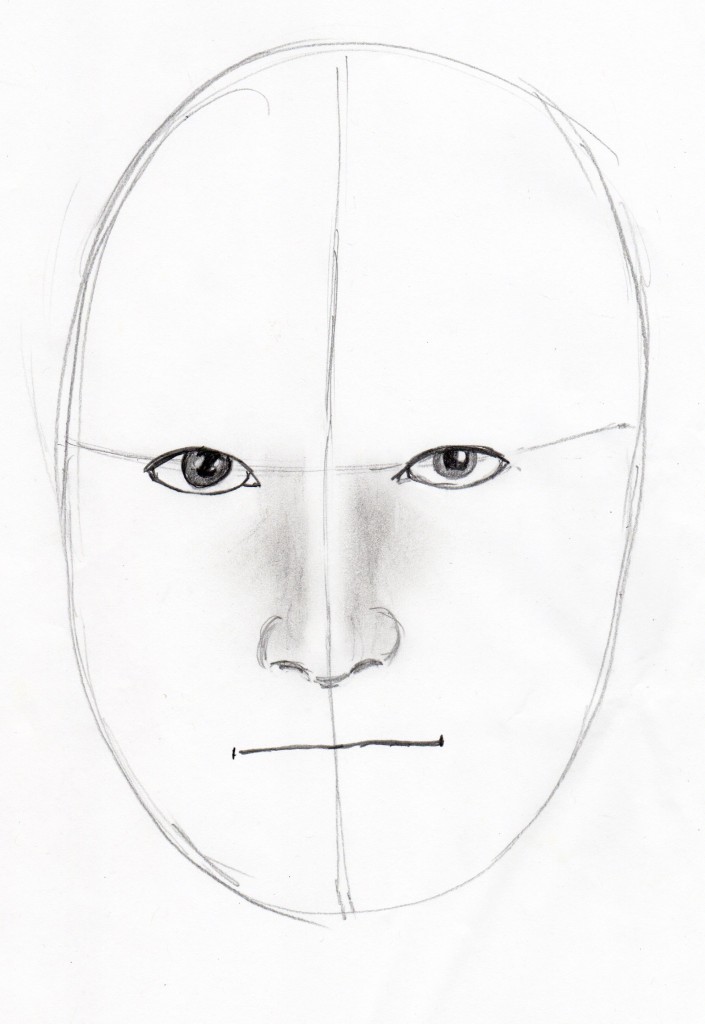
3. Begin with the shape of the face. Be sure to pay attention to this shape. Some faces are oval, while others are round or heart-shaped.
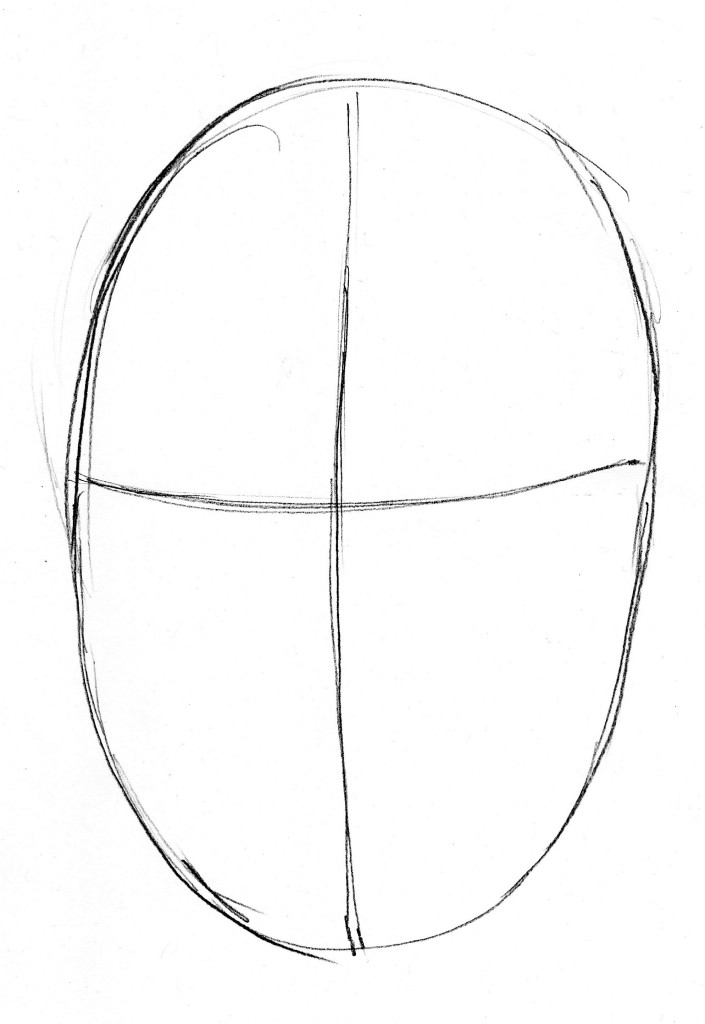
4. Add a guidelines in the shape of a “t” to help you place the features such as the eyes, nose, and mouth.
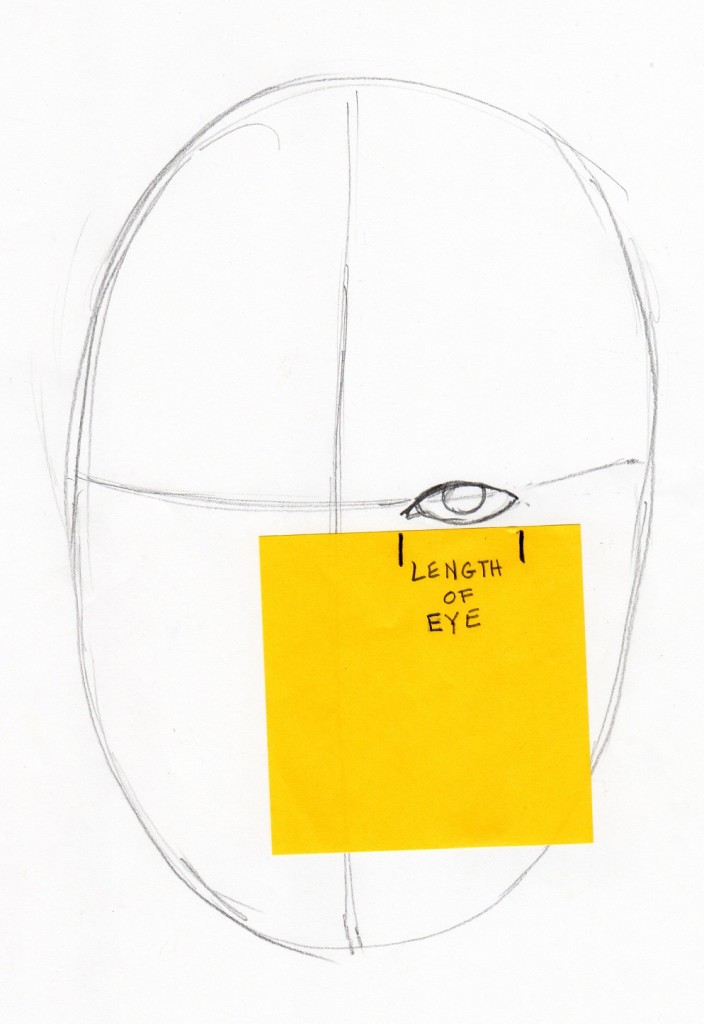
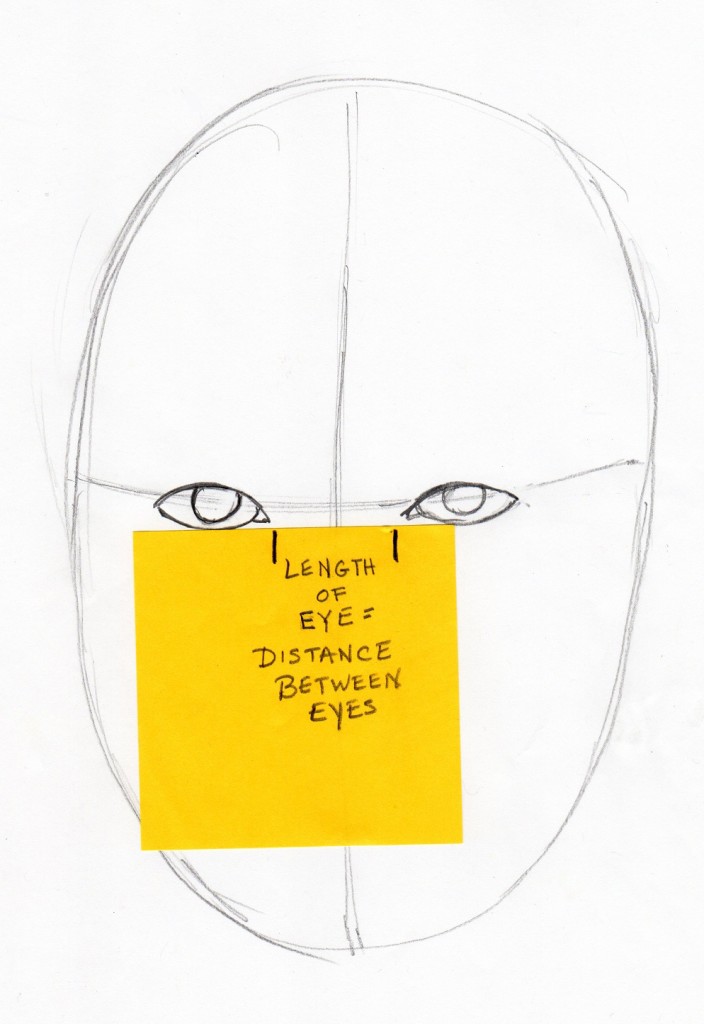
5. After you draw an eye, measure its length with your pencil or scrap of paper. This is usually the distance between the eyes as well.
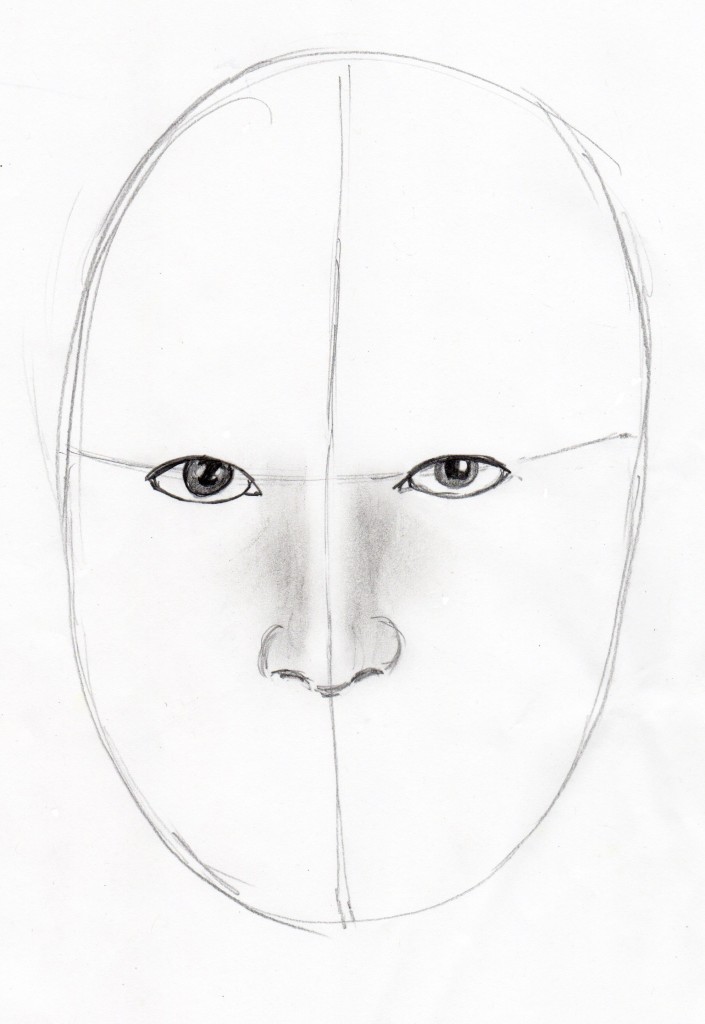
6. Instead of drawing lines for the sides of the nose, create shadows there instead. You can use some graphite on your finger or on a tortillon.
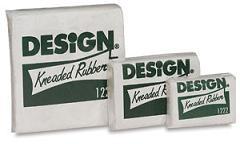
7. To change or lighten your shadows, use a kneaded eraser.
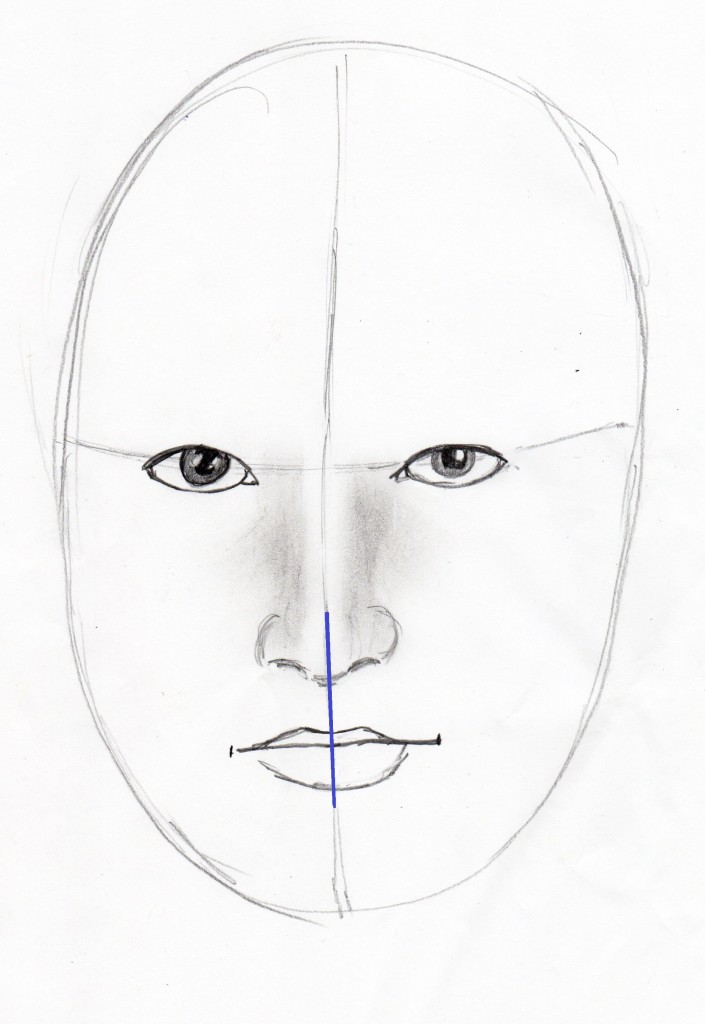
8. If the mouth is closed, notice the straight line between the lips. This line actually extends past the lips.
9. Keep the center of the nose lined up with the center of the lips.
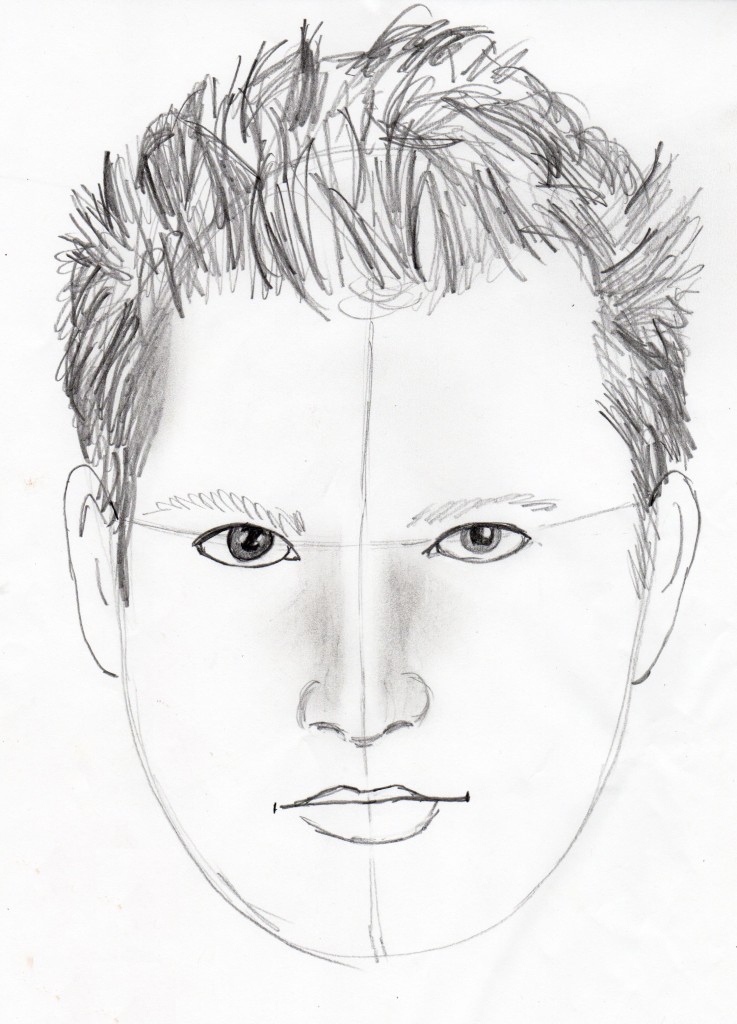
10. The top of the ear usually attaches to the head along the same guidelines as the eyes. It curves up from there. 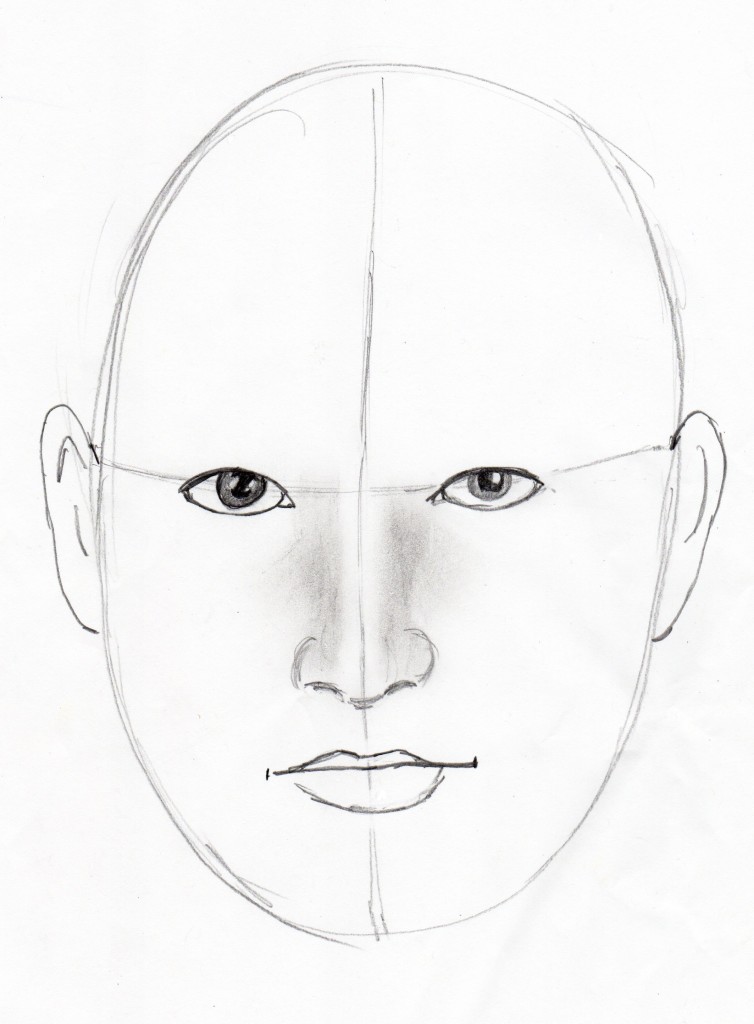
11. When drawing hair, create lines that mimic the hair. For example, for short hair, use short lines. For long hair, make your lines long. Wavy or curly hair? Make the lines curve!
12. To get the features in just the right place, try drawing using a grid.
For full instructions on how to draw a face, check out the How to Draw a Face tutorial. You can download it for free simply by signing up for my newsletter! 🙂


Very informative. Although not an artist myself, your instructions interest me enough that I would to try to begin drawing portraits of my family and friends. Thank you very much for your generous offer.
Good bye
Cool